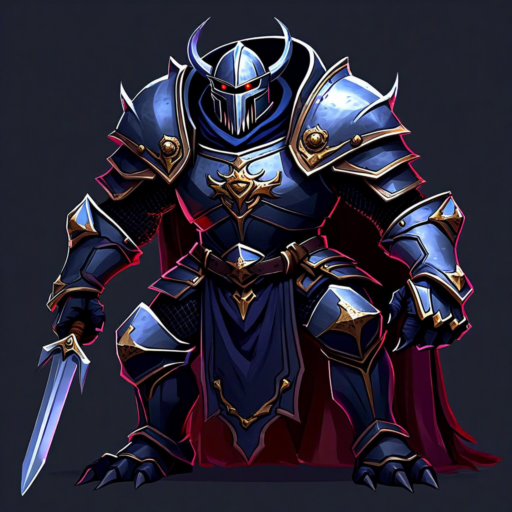
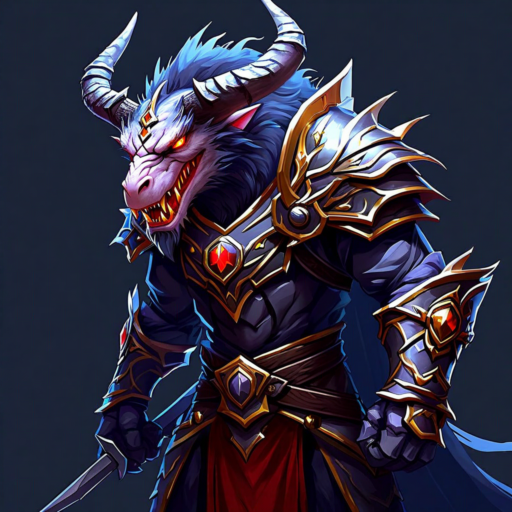
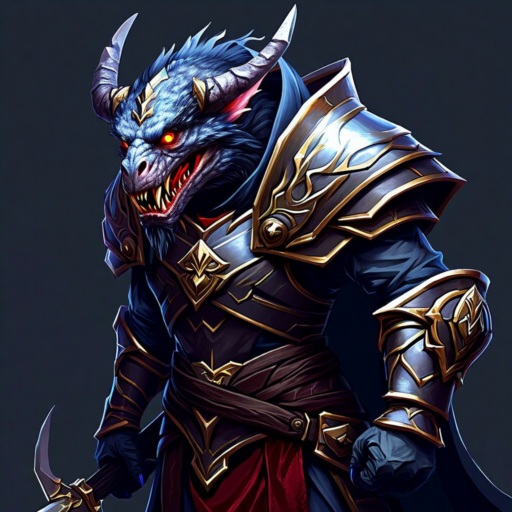
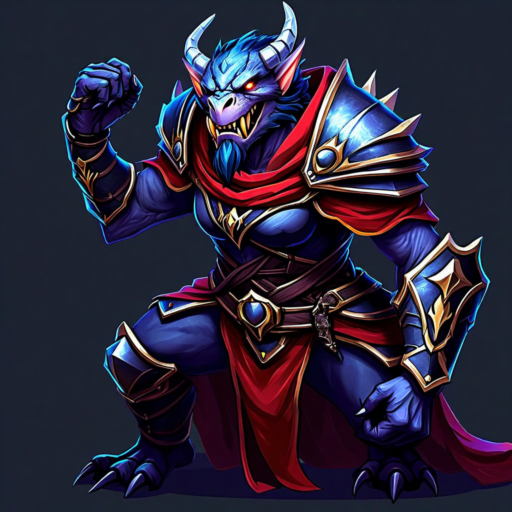
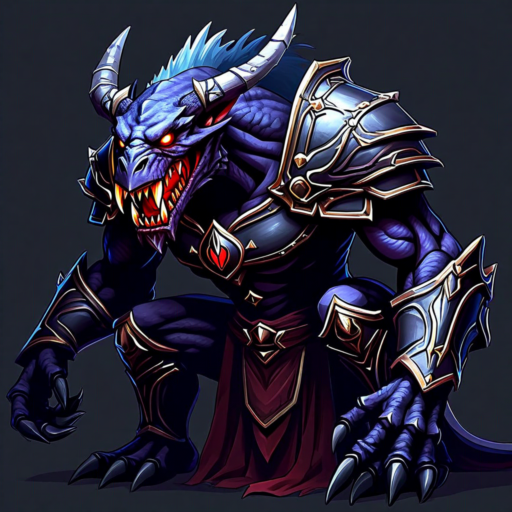
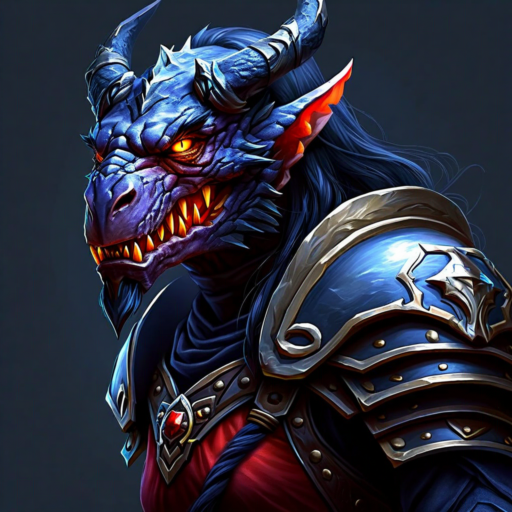
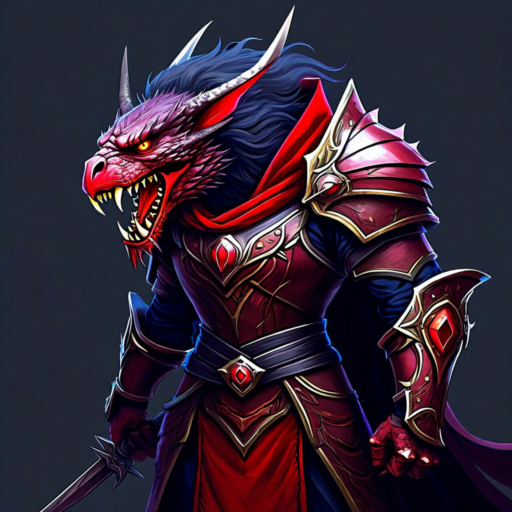
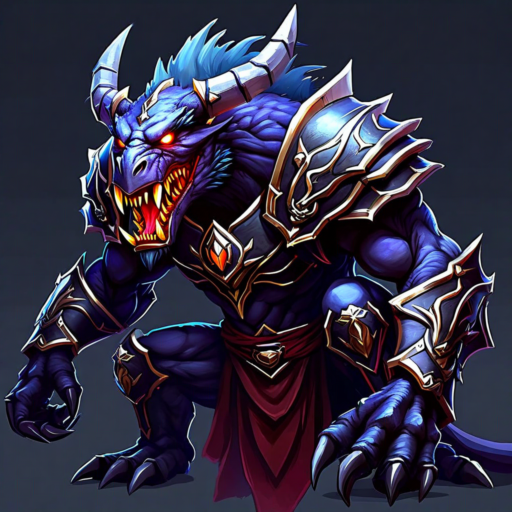
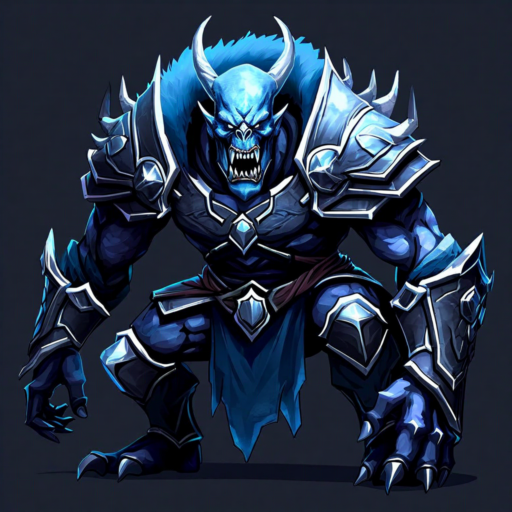
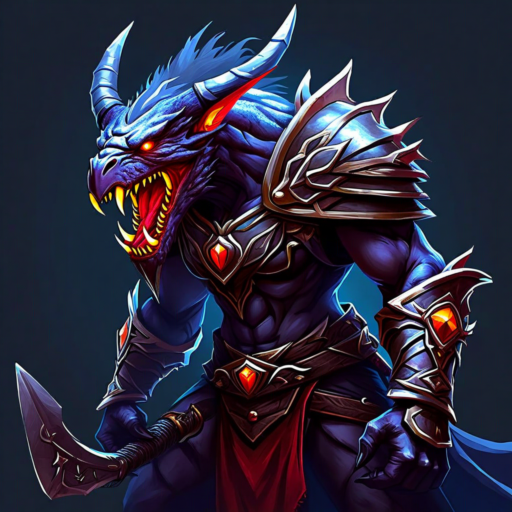
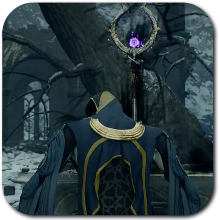
Leading the Antumbra's Order, the void spirit known as the Antumbra's Sword serves their cause as the fitting judge who condemns anyone who defies the power of darkness.
Second phase of Ludvig after consuming an imprisoned human for unholy power. His lightning attacks become far more devastating and wide-reaching.
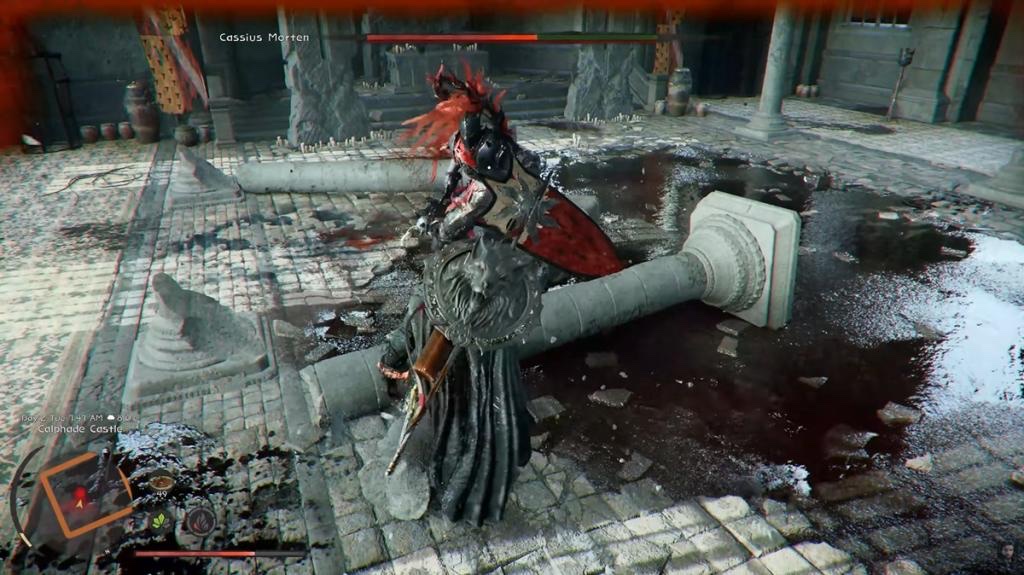
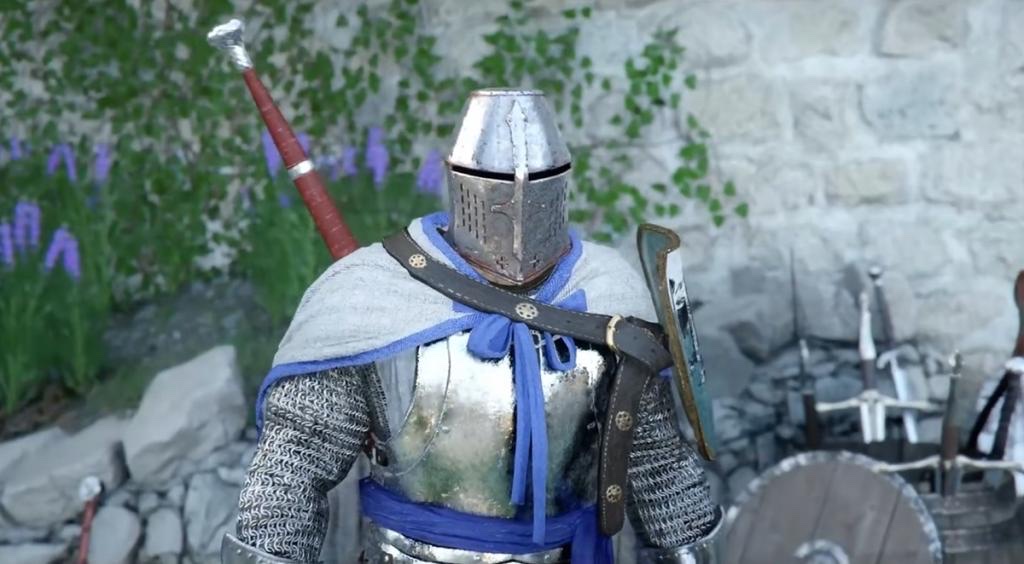
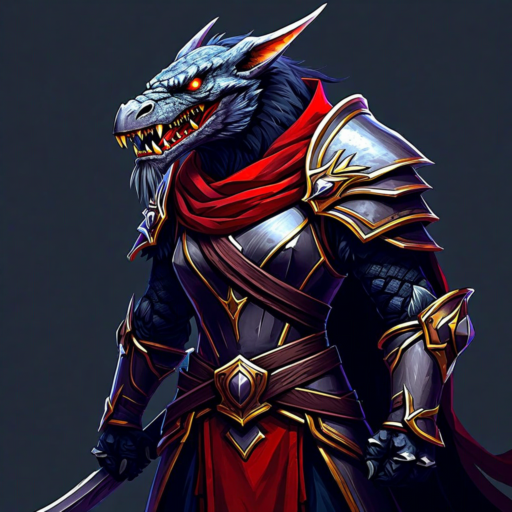
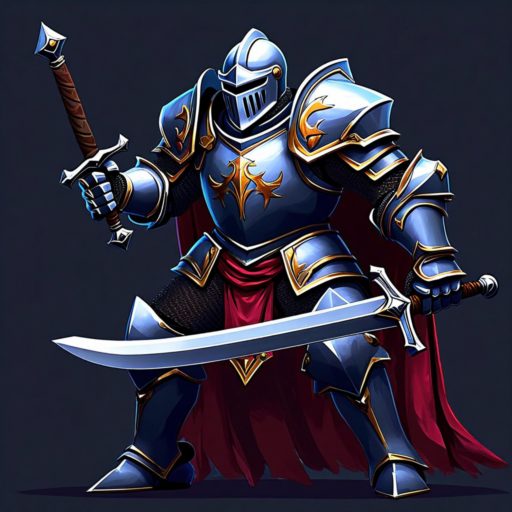
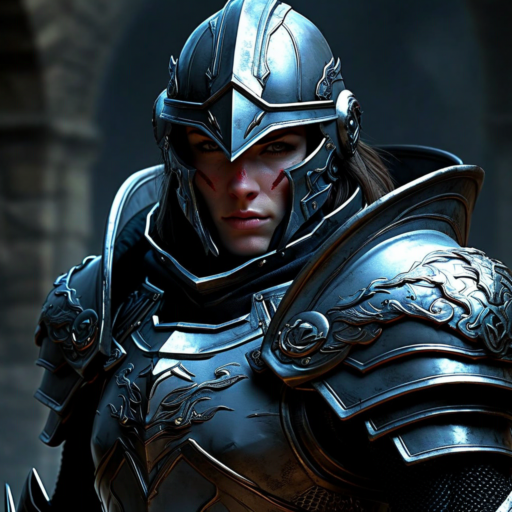
A former respected commander of the Calphade army. His exceptional skill earned him the rank of captain and the nickname 'Silver Armor'. Fights with a morningstar and paladin shield at Calphade Castle.
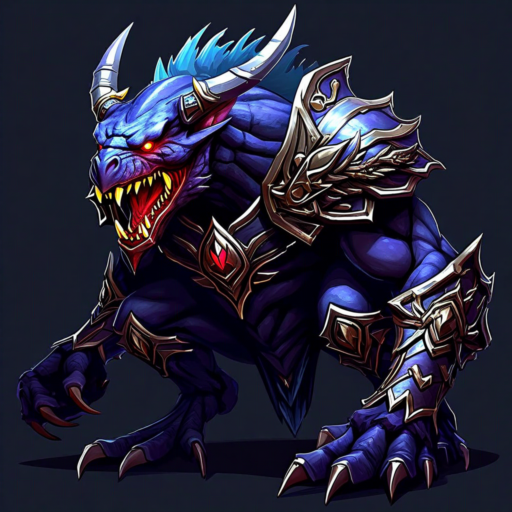
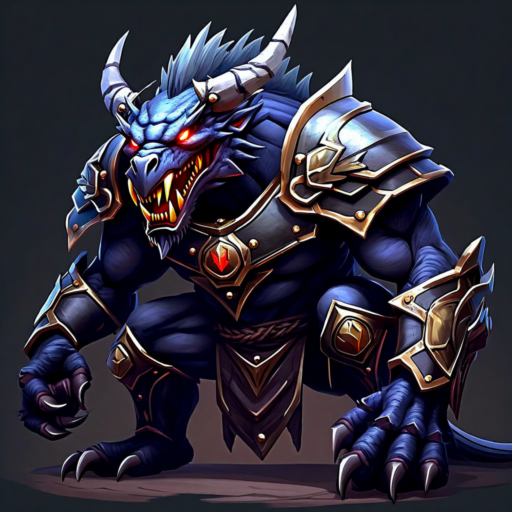
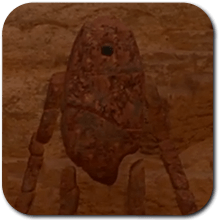
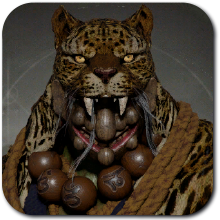
A terrifying creature lurking in Fort Perwin in Hernand. An optional boss encountered during the 'Continuing Concern' quest.
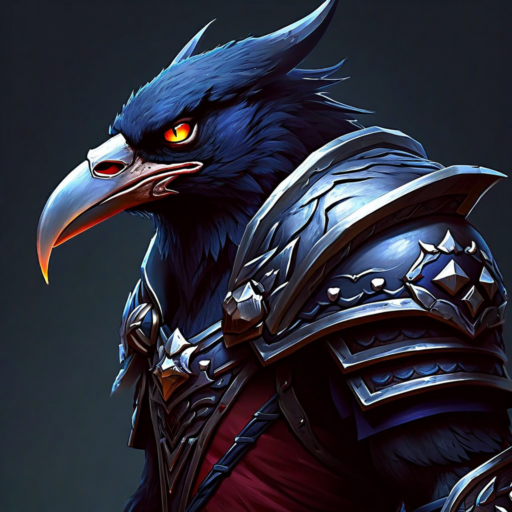
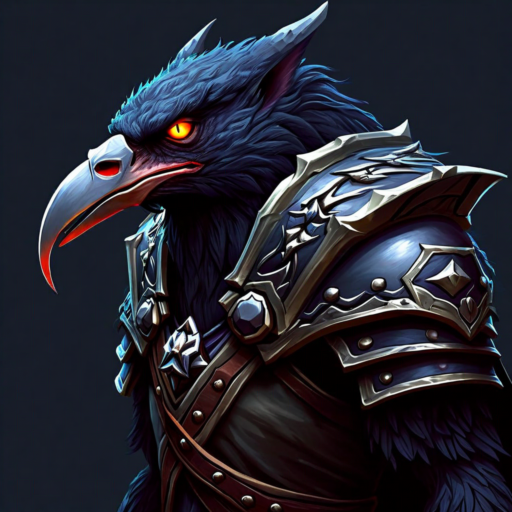
Son of Hexe Marie; leads the Crow Brothers; seeks to release evil souls from Heaven's Gate. Encountered multiple times across Hernand, Demeniss, and The Abyss.
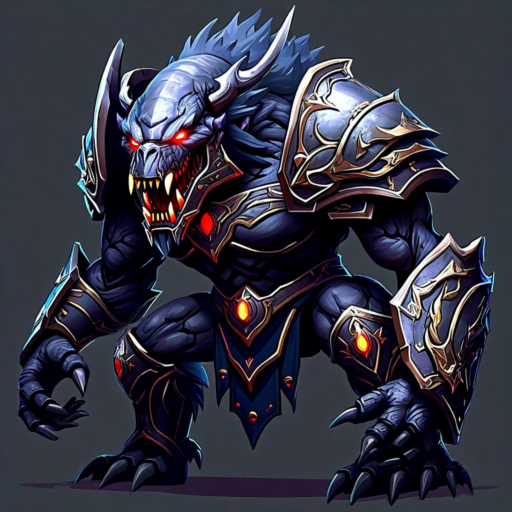
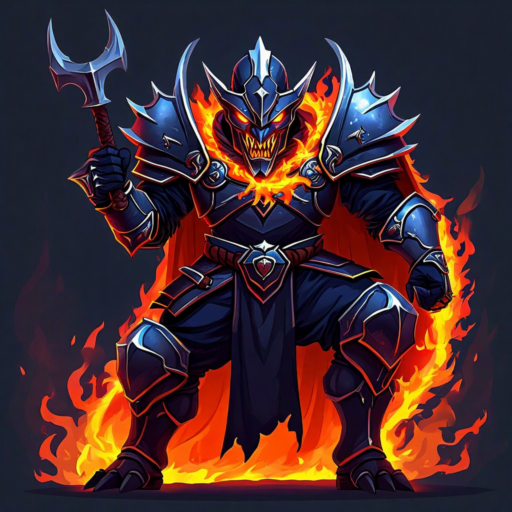
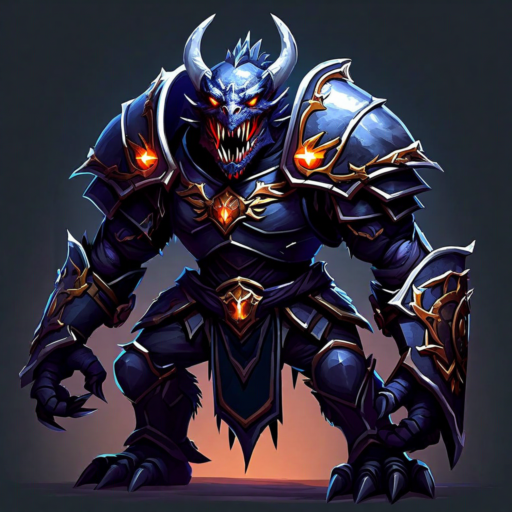
A gigantic warrior empowered by cursed warrior spirits at Thornbriar Fortress. His immense size and spectral allies make him a formidable challenge.
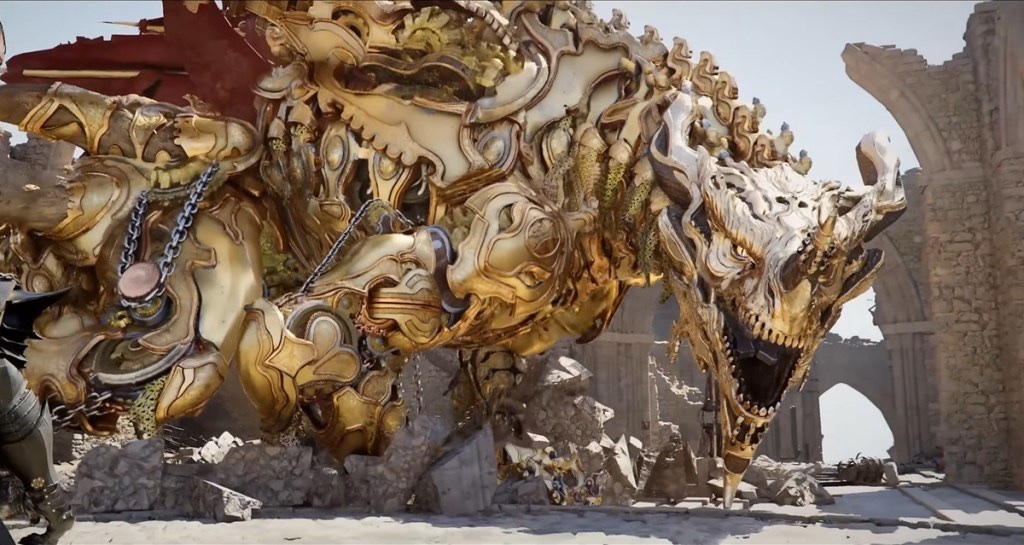
A mechanical dragon with golden coloring and destructive dragon breath, housed within Marni's Masterium in Delesyia.
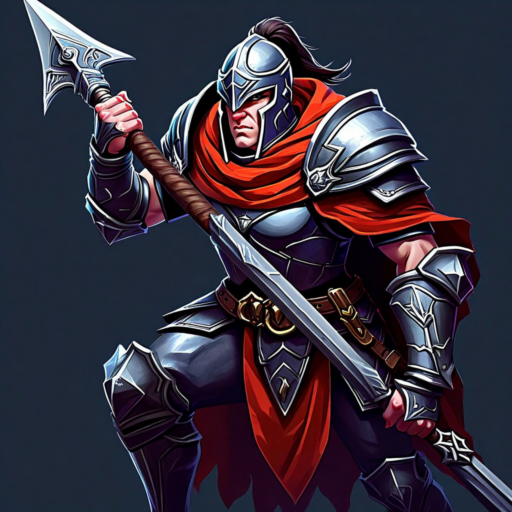
The captain who captured Fort Ironclad through unbroken will and immeasurable strength. His halberd strikes are devastating but slow.
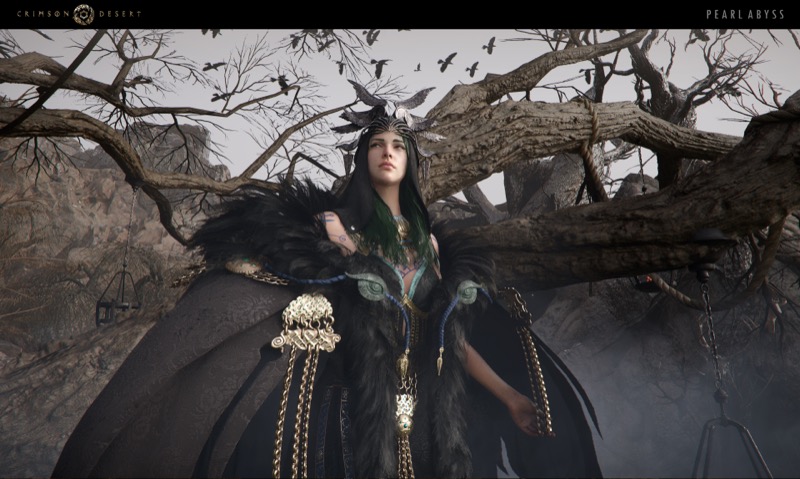
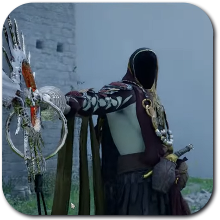
Mother of Draven; seeks vengeance after her child's death. An agile witch wielding crow and summoned creature powers in the Smoking Lands.
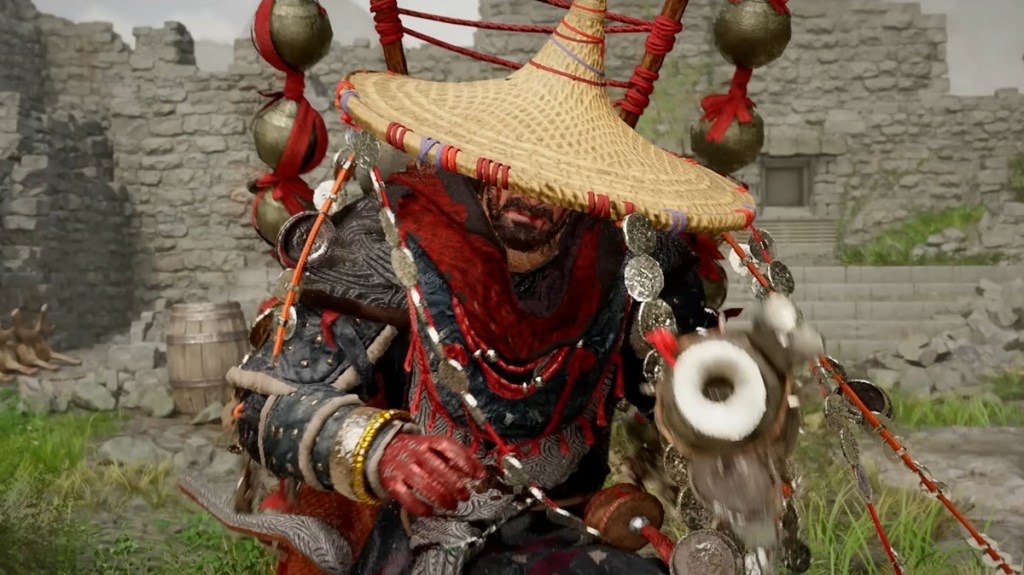
Leader of the Goldleaf Merchants. Bullied in childhood, he gained immense power from an artifact discovered by chance. His power allows him to split ox horns with just the wind from his sword.
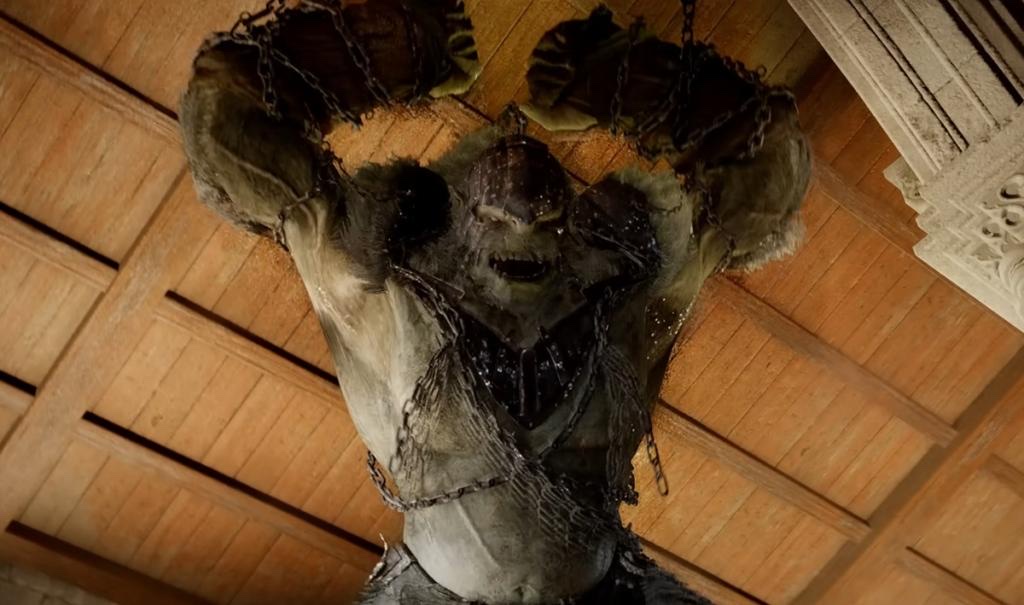
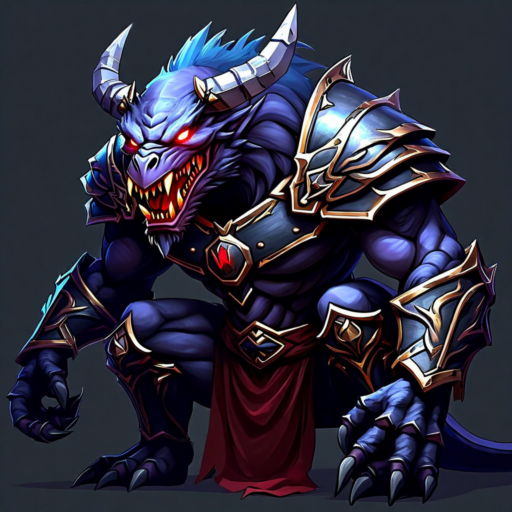
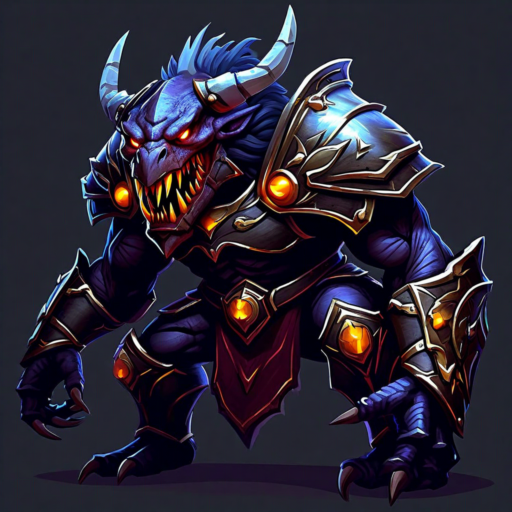
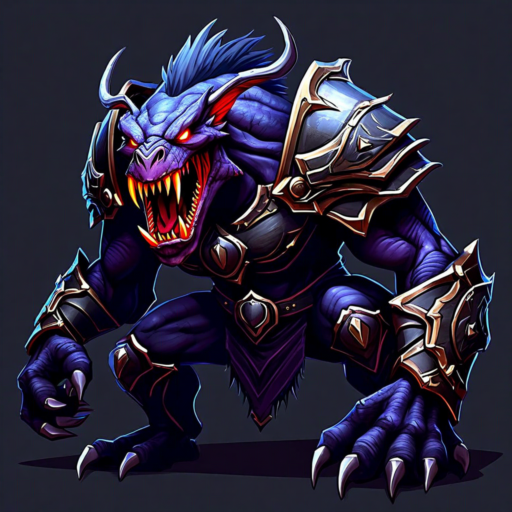
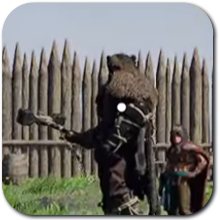
A giant gorilla covered in armor and chains. Captured by Demeniss and turned violent from severed horns and prolonged imprisonment. Unleashed at Hernand Castle.
Second transformation of Myurdin after falling into magma at Ashclaw Keep. The oppressor that haunted Pailune returns bolder and stronger, fused with molten rock.
Leader of the Lonely Jackals. Seeks to oppress and rule through extreme force at Pailune Castle. Wields lightning-infused attacks with devastating speed.
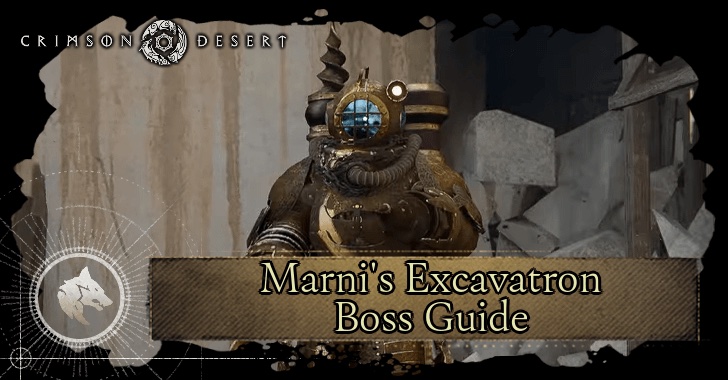
A quarrying machine created by inventor Marni of Delesyia, repurposed by the Bleed Bandits as a war machine at Karin Quarry.
Leader of the Order of Light. A wandering knight who tests combat skills via duel in the City of Hernand. Despite his noble bearing, he is a formidable swordsman.
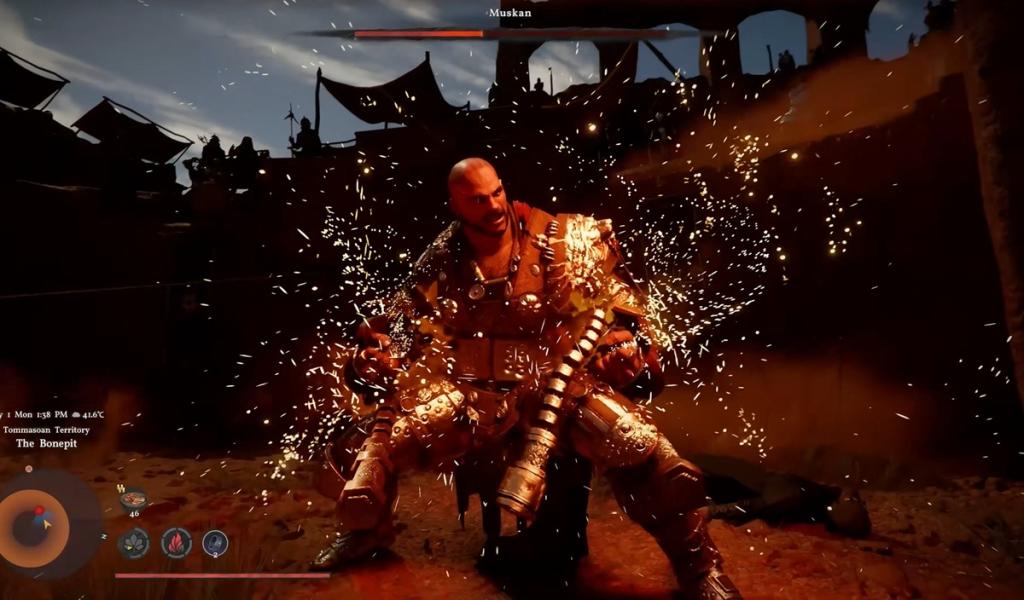
A human of far greater size than normal, known for dirty fighting. Fights unarmed with brute strength at The Bonepit in the Tommasoan Territory.
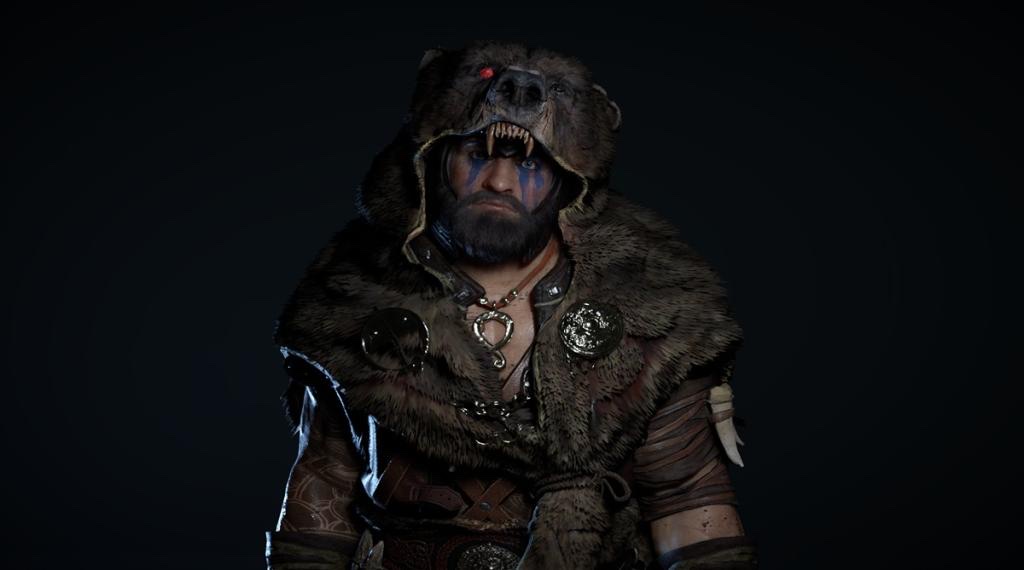
Leader of the Black Bear Forces. Holds the conviction that 'Only the powerful deserve everything'. First encountered at the Hills of No Return between Hernand and Pailune.
Ludvig surviving after near death in Pailune Castle, now missing an arm. Encountered in the Kingshield Mountains of Demeniss, driven by desperate fury.
An enchanted creature awakened when Diederik strikes its stony carapace for precious stones in the Redfox Forest. Its massive shell hides vulnerable weak points.
The Devil of the Reed Field; a mythical creature born of hatred and rage. This swift swordsman haunts the Mountain of Frozen Souls in Hernand.
A large humanoid wielding a sword and targe at the Icemoor Castle Ruins in Savage Peaks. Guards stashed treasures and is one of the longest boss battles in the game.
An entity summoned from an otherworldly realm at the Scholastone Institute. Kills everyone it contacts. This aerial combat encounter requires unique tactics to damage.
Leader of the Bleed Bandits. An adopted son of Marquis Lanford, this orphan turned successor wields a deadly double-barreled gun at Fort Warspike.
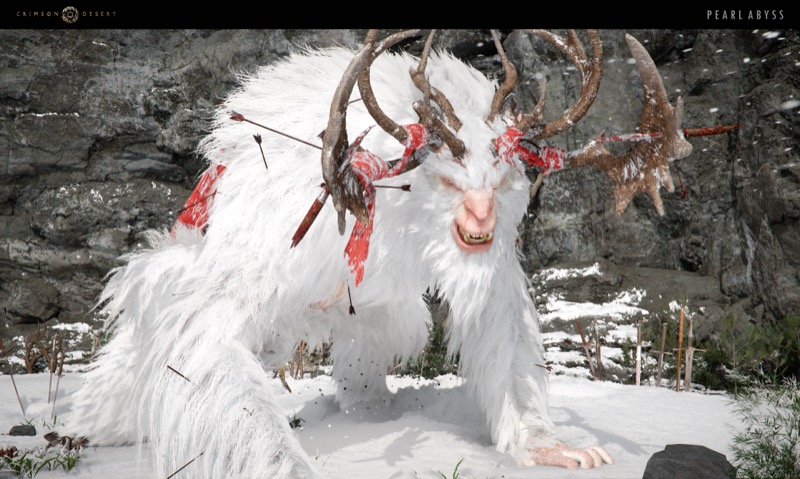
The most feared brute of the White Mountains. Summons snowstorms and blizzards, and its Chilling Roar can freeze adventurers in their tracks.
A legendary sea-monster hunter based in Pelun who fights with a harpoon and chain, using them to control space and pull enemies into devastating close-range attacks. Defeating her liberates Roothold and advances your standing with House Celeste to Friendly. Her spear is obtainable as one of the strongest early polearms in the game.
A legendary enormous catfish that inhabits the deepest marshes of Demeniss, known as a fan-favourite boss due to its absurd size and comedic aggression. Fought twice during the Beyond the Silent Waves questline for the Vellua Fisherman's Guild. Observing it use Body Slam during the Shadows in the Mist quest unlocks the Body Slam skill for Kliff.
The most feared brute of the White Mountains in Pailune. This massive ice elemental can summon chilling snowstorms and call a blizzard of hail from the sky with its mystical roar. Its attacks inflict frost buildup that slows movement and eventually freezes the player entirely if the frost meter fills. One of the most dangerous optional encounters in Pailune.
The God of Thunder, found at Windsong Peaks after activating the broken ancient lightning device as part of the Ancient Barrier faction quest in Pailune's Scorched Mountain. One of the hardest boss fights in the game with multiple phases including a Gigantified form. Drops the Reckoning Two-Handed Spear and Lightning Bolt Plate Armor on defeat.
Main quest boss from Black and White quest. Found at Crow's Nest.
Boss found at Spire of Ringing Truth.
Boss found at Twisted Thicketway.
A giant spider boss found at Arboria Castle in northern Hernand, encountered during the Queen of the Silkspun Citadel questline for House Serkis. Despite her intimidating appearance, she has relatively low health. Shoots poison projectiles and alternates between clinging to walls and jumping to the ground. Defeating her rewards the Queen's Fang Abyss Core, which adds a poison attack to the Stab ability.
A story boss encountered at Fort Hellwood, west of Glenbright Manor in Hernand. Part of The Hellhounds quest chain accessed through Chapter 4 via the church in Hernand. Defeating Hemon Beindel drops the Hound longsword, which has a unique ability called Hound's Claws that hits everything in a circle and is excellent for fighting groups of enemies.
A unique stone golem boss encountered in the Southern Quarry of Grace Estate as part of a Hernand side quest to liberate the quarry. Its weakness is the glowing cube on its head, which must be pulled out using Axiom Force to cause it to crumble into attackable fragments. Defeating Lithus rewards the Rune-Engraved Rock two-handed weapon and the Secret of the Abandoned Mine containing Fine Stone.
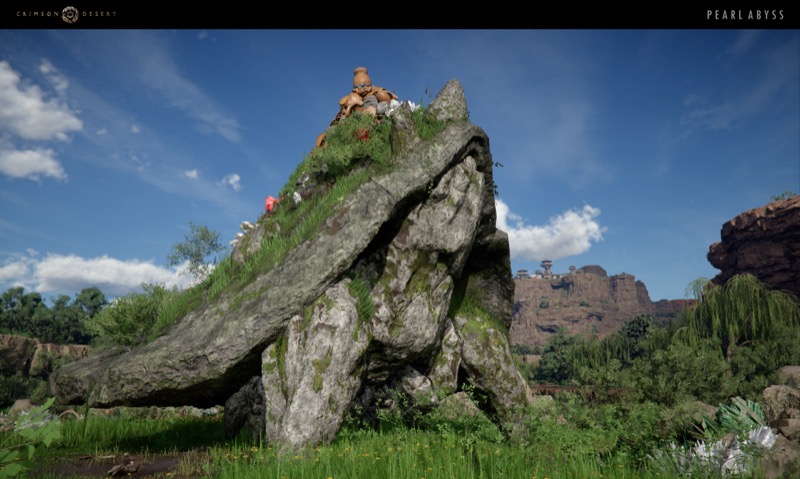
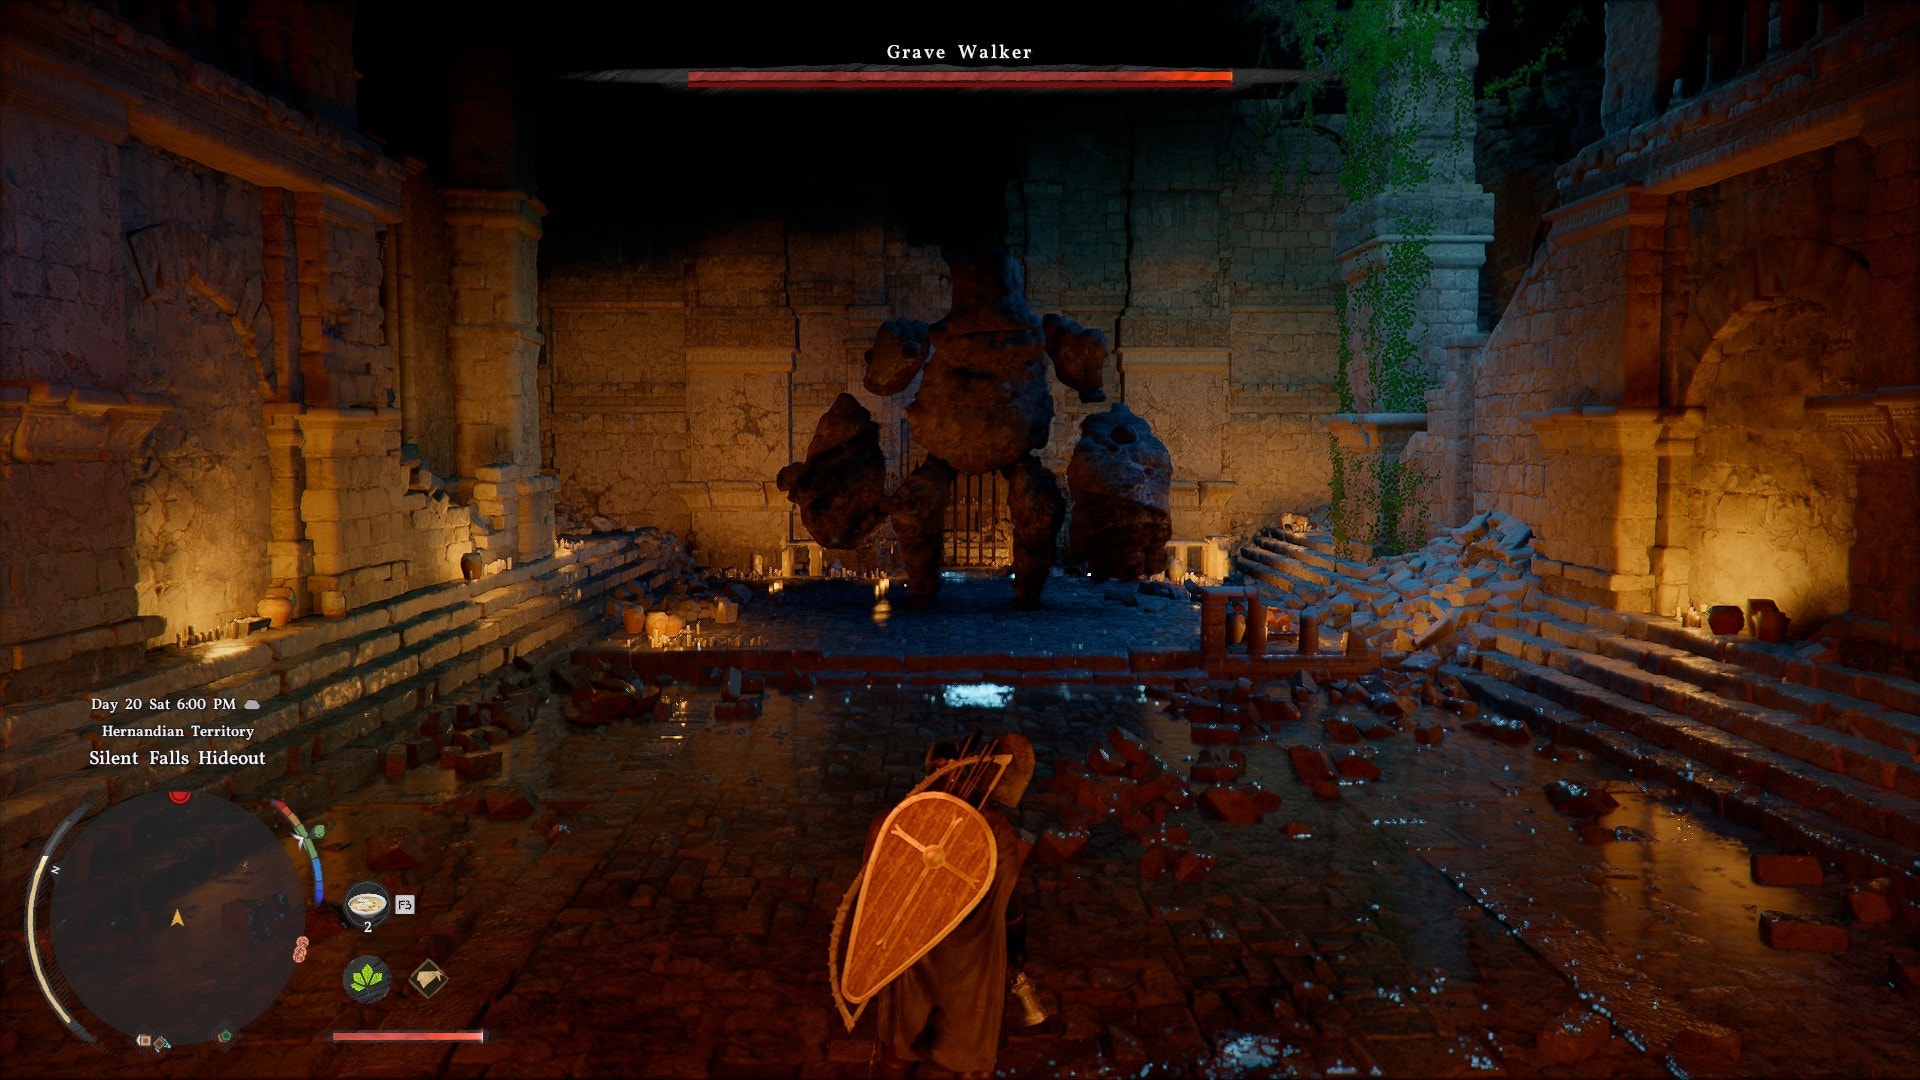
Grave Walker is one of Crimson Desert's earliest world bosses, a hulking stone golem hiding inside a waterfall cave at the Silent Falls Hideout near Hook Rapids. It is a distance-reactive boss that changes attack patterns based on how far away you are. The fight revolves around baiting its overhead slam, punishing with stun-focused damage until the stun gauge fills, then unleashing full damage when it collapses.
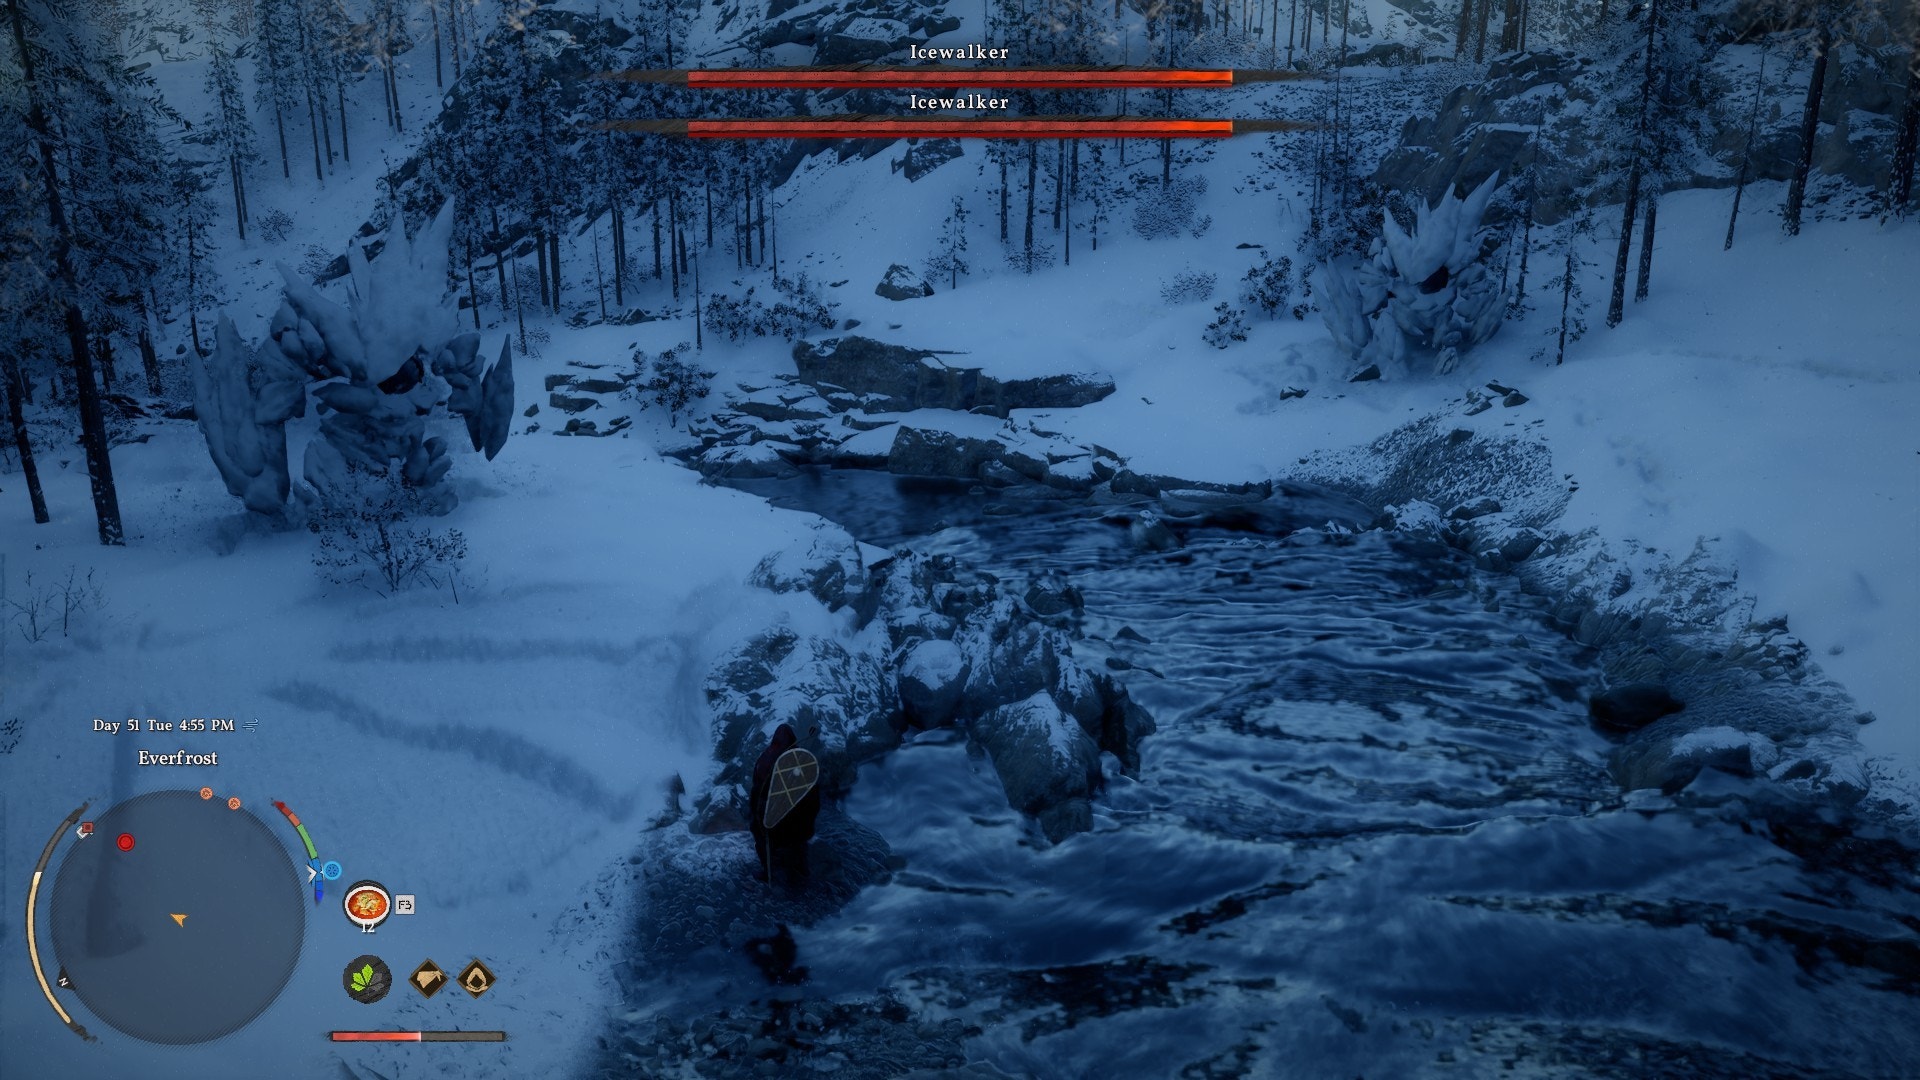
The Icewalkers are a group of frost-empowered world bosses found roaming the snowy forests on both sides of the river in the Hernand region. These ice elemental creatures use a mix of charging attacks and melee strikes enhanced with ice elemental damage.
Vordis, the Runewalker is a massive stone construct world boss summoned by solving the Puzzle of Lake Kharonso in the Hernand region. It has a glowing prism on its head that serves as its weak point. Using Axiom Force to pull the prism causes Vordis to collapse into pieces, creating damage windows. Defeating Vordis rewards the Mossy Secret Map which reveals all Legendary Fish locations, plus an Abyss Artifact.
Gabriel Caliburn is the Duke of Demeniss and a pivotal antagonist in Crimson Desert. First encountered during The Blood Coronation quest in a scripted fight that Kliff cannot win, Caliburn later becomes the true final boss in A Shadow in the Void, where he fights across three phases while summoning shadowy clones and teleporting around the arena.
Lucian Bastier is fought as Damiane at the end of Act 8 during the quest A Fleeting Dream. He has two health bars — in Phase 1, he fights with aggressive swordplay, and in Phase 2 he transforms with Abyss power, gaining constant teleportation and the ability to summon shadow demons that harass the player.
T'rukan, the Ascended is a fearsome unarmed combatant encountered during the True Strength quest in Chapter 9. He has only one health bar, but his lightning-fast fist combos can shred your guard, and when a spectral being appears behind him, his next attacks deal devastating damage in bursts of three.
Flying Fortress Orbian is a massive airborne fortress encountered during the Cloud Castle Orbian quest. The fight begins while riding the Blackstar Dragon, destroying shield generators on the fortress exterior. After landing inside, players navigate puzzles and interior enemies before reaching the core boss — a spinning disc of light that must be stunned with Force Palm and Energy Surge before being finished with arrows.
A commander of Bastier's Righteous Inquisitors, the corrupt tribunal forces encountered during the Departure of the Brave quest in Demeniss. The Inquisitors are well-armed and fight aggressively, serving as Caliburn's harbingers of doom who oppress the weak and those who oppose their ruthless cause.
The Crimson Warden is a former Greymane archer who defected and now hunts humans as prey. Encountered during the Corrupted Greymane faction quest in Demeniss Wildlife Park, she is a highly mobile ranged fighter with only one health bar but extreme evasion. This fight is unique because players can learn three exclusive combat skills through the Watch and Learn mechanic.
Tristan, the Flame Knight is a boss encountered during the House Azerian faction quest in Demeniss. He tests both defensive timing and sustained damage output with heavy fire-based attacks. Defeating Tristan rewards unique Flame Knight equipment including Scorchflame Plate Gloves and Seal of Devotion, with the Spada Sword and Drake Shield hidden nearby after the fight.
An extremely intense mechanical boss fought at the Laughing Marionette during the Nightmare on Stage quest in Demeniss. The fight has two phases: Phase 1 requires destroying both hands and shoulders, while Phase 2 involves stunning it and delivering a killing Stab to the head. Most of its attacks cannot be dodged, making food management critical.
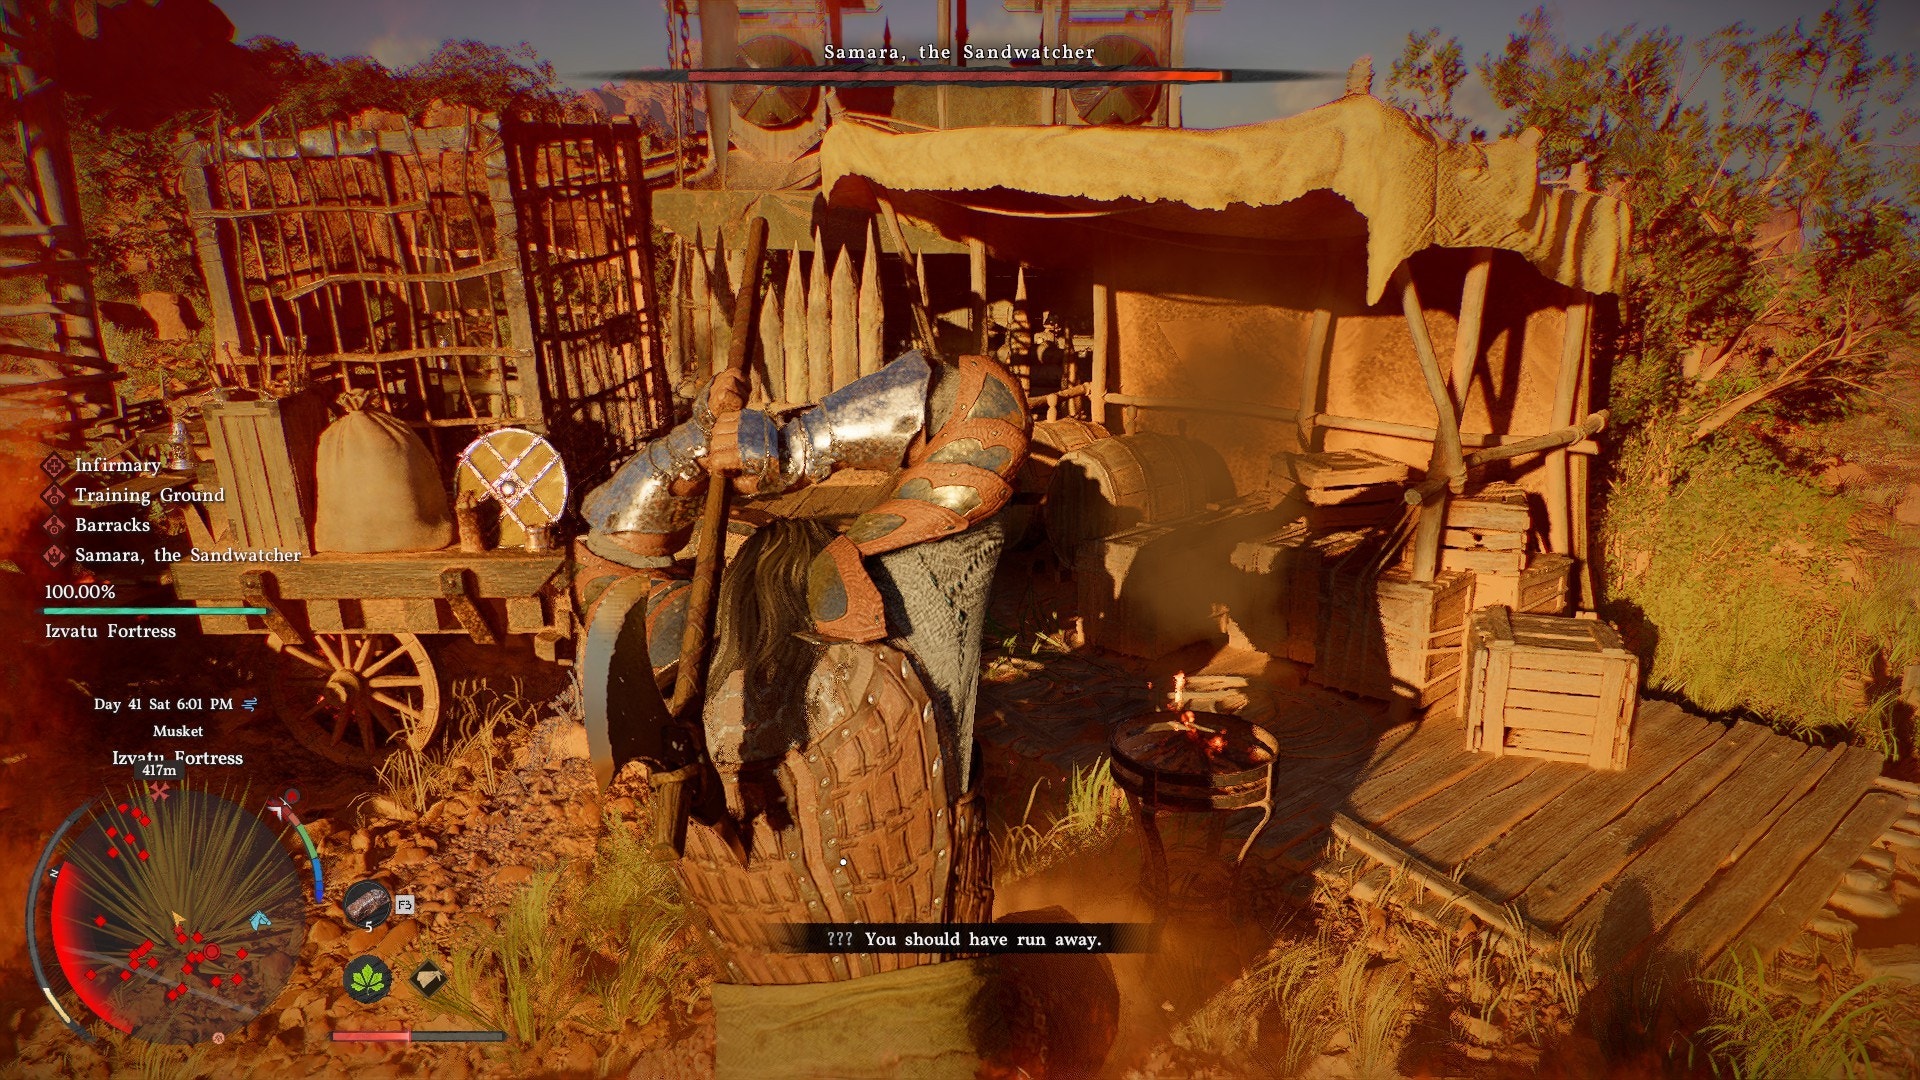
Samara, the Sandwatcher is a world boss found in the Demeniss region. This desert-dwelling creature guards the sandy expanses of Demeniss and attacks any who trespass on its territory.
Master Du is a powerful martial arts master fought during The Sage of the Desert quest after completing the trials against Hexe Marie, T'rukan, and Goyen. He has two phases in a small arena filled with pillars and smoke. His attacks can instantly kill, and in Phase 2 he leaps between pillars at extreme speed, firing three massive energy bolts that can melt an entire health bar.
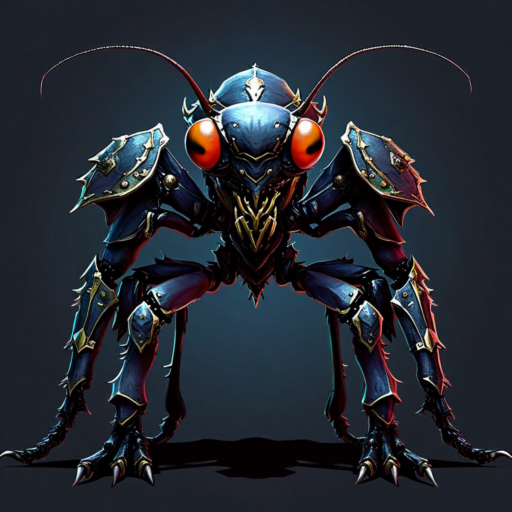
A mechanical praying mantis weapon that fell from a sky galleon's debris during the Frozen Hearted Predator quest in Delesyia's Gorthak region (Chapter 10 — Counterattack: Greater Firepower). Its metal heart rampaged with overwhelming power before freezing over. Despite its intimidating appearance, it is one of the easier bosses in the late game. Its most dangerous attack is the yellow laser beams, which can potentially one-shot at lower HP. Its melee attacks deal relatively low damage.
A heavily armored mechanical tank boss encountered while assembling Marni's transporter in Delesyia. Guards one of three fortress keys needed for progression. Its impenetrable armor makes it impossible to kill with normal sword strikes. Features AoE attacks, homing missiles, electric emitters, and a devastating charge attack that can delete your health bar. Requires the Aerial Maneuver skill (from Axiom Force Lv2) to defeat.
A massive mechanical mech boss found in Marni's Laboratorium in Delesyia during the Forbidden Gatekeeper quest. Resembles a walking armored warsuit with powerful but well-telegraphed attacks. Features a three-hit combo sequence with slow recovery, an orbital strike, a beam attack, and a devastating forward ramming attack that is likely a one-shot kill at low HP.
A steam-powered tank boss encountered at the Aeronautical Research Base in Delesyia during Chapter 11 (Brave New World), part of the assault on Marni's strongholds to obtain fortress keys. Fires cannon volleys and performs triple charge attacks. Can be defeated by building its Stun Meter with Turning Slash, then using Axiom Force + Aerial Maneuver to vault on top and Stab its exposed green power core for an instant kill. Alternatively, sitting in the arena crane causes it to take damage over time (about 40 minutes).
A double world boss encounter northwest of Longbranch in the Pailune region — two massive stone golems fought simultaneously. These are variants of the Grave Walker, whose core mechanic involves exploiting the overhead slam to build stun damage. When the stun gauge fills, they shatter into fragments creating a damage window. Drops Abyss Gear and Abyssal Seed on defeat.
A world boss found on a small mountain edge in the Pailune region. Drops Abyss Cores x2 on defeat.
Goyen is a fearsome warrior encountered during the Unwavering Steps quest in the Abyss. He wields a sword and shield, fighting much like Kliff himself, and can kill in one or two hits with his most powerful attacks. His devastating Meteor Kick leap attack creates a deadly shockwave that can end the fight instantly if not dodged.
Corrupted Caliburn is the Abyss-empowered form of Duke Gabriel Caliburn, fought during the quest A Shadow in the Void deep within the Abyss. This is a grueling three-phase endurance fight where Caliburn summons shadowy clones, teleports unpredictably, and unleashes devastating ranged attacks including Red Rain and Arcing Crescent projectiles.
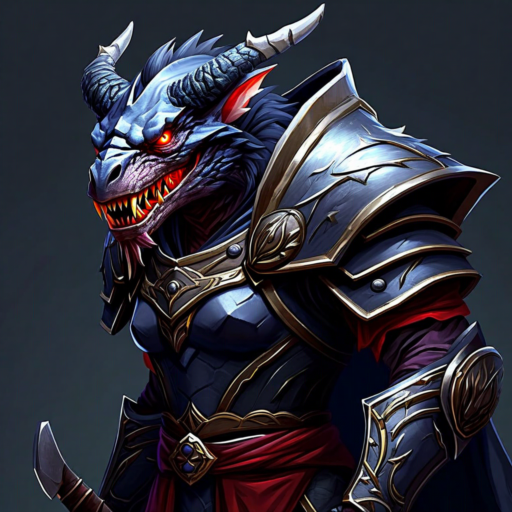
Ravok of the Savage Fangs is a ferocious world boss that patrols the open world. This aggressive beast roams freely across the land and can be encountered while exploring, making it a dangerous surprise for unprepared adventurers.
A world boss first encountered at Ruin's Excavation, with a final encounter southwest at Crimson Mountain's Fortress. Merrick is a formidable knight whose first appearance tests the player early in their world exploration. The encounter at Ruin's Excavation serves as an introduction to his fighting style before the more challenging final showdown at the fortress.
A vastly more powerful corruption of Myurdin, fully consumed by Umbra's essence and wielding dark power with devastating fire attacks.
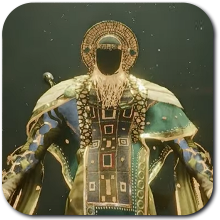
The true final boss of Crimson Desert — a massive flying angel fought from dragonback in a cinematic aerial finale.
Lucian Bastier transformed by an Abyss artifact into a fiend — faster, more dangerous, and armed with a burning armblade.
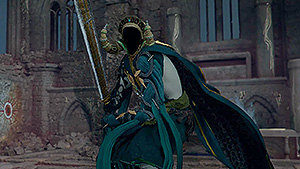
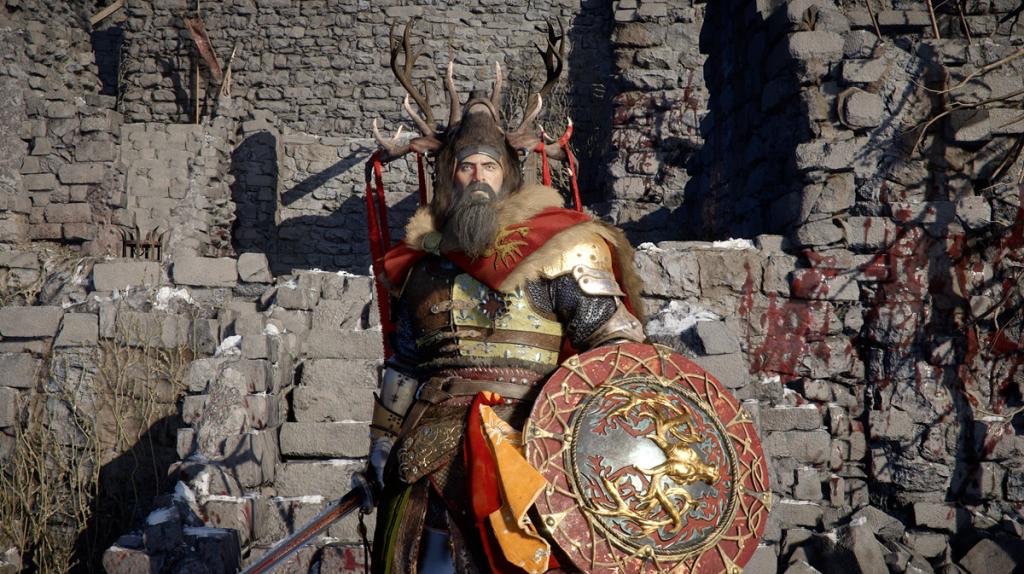
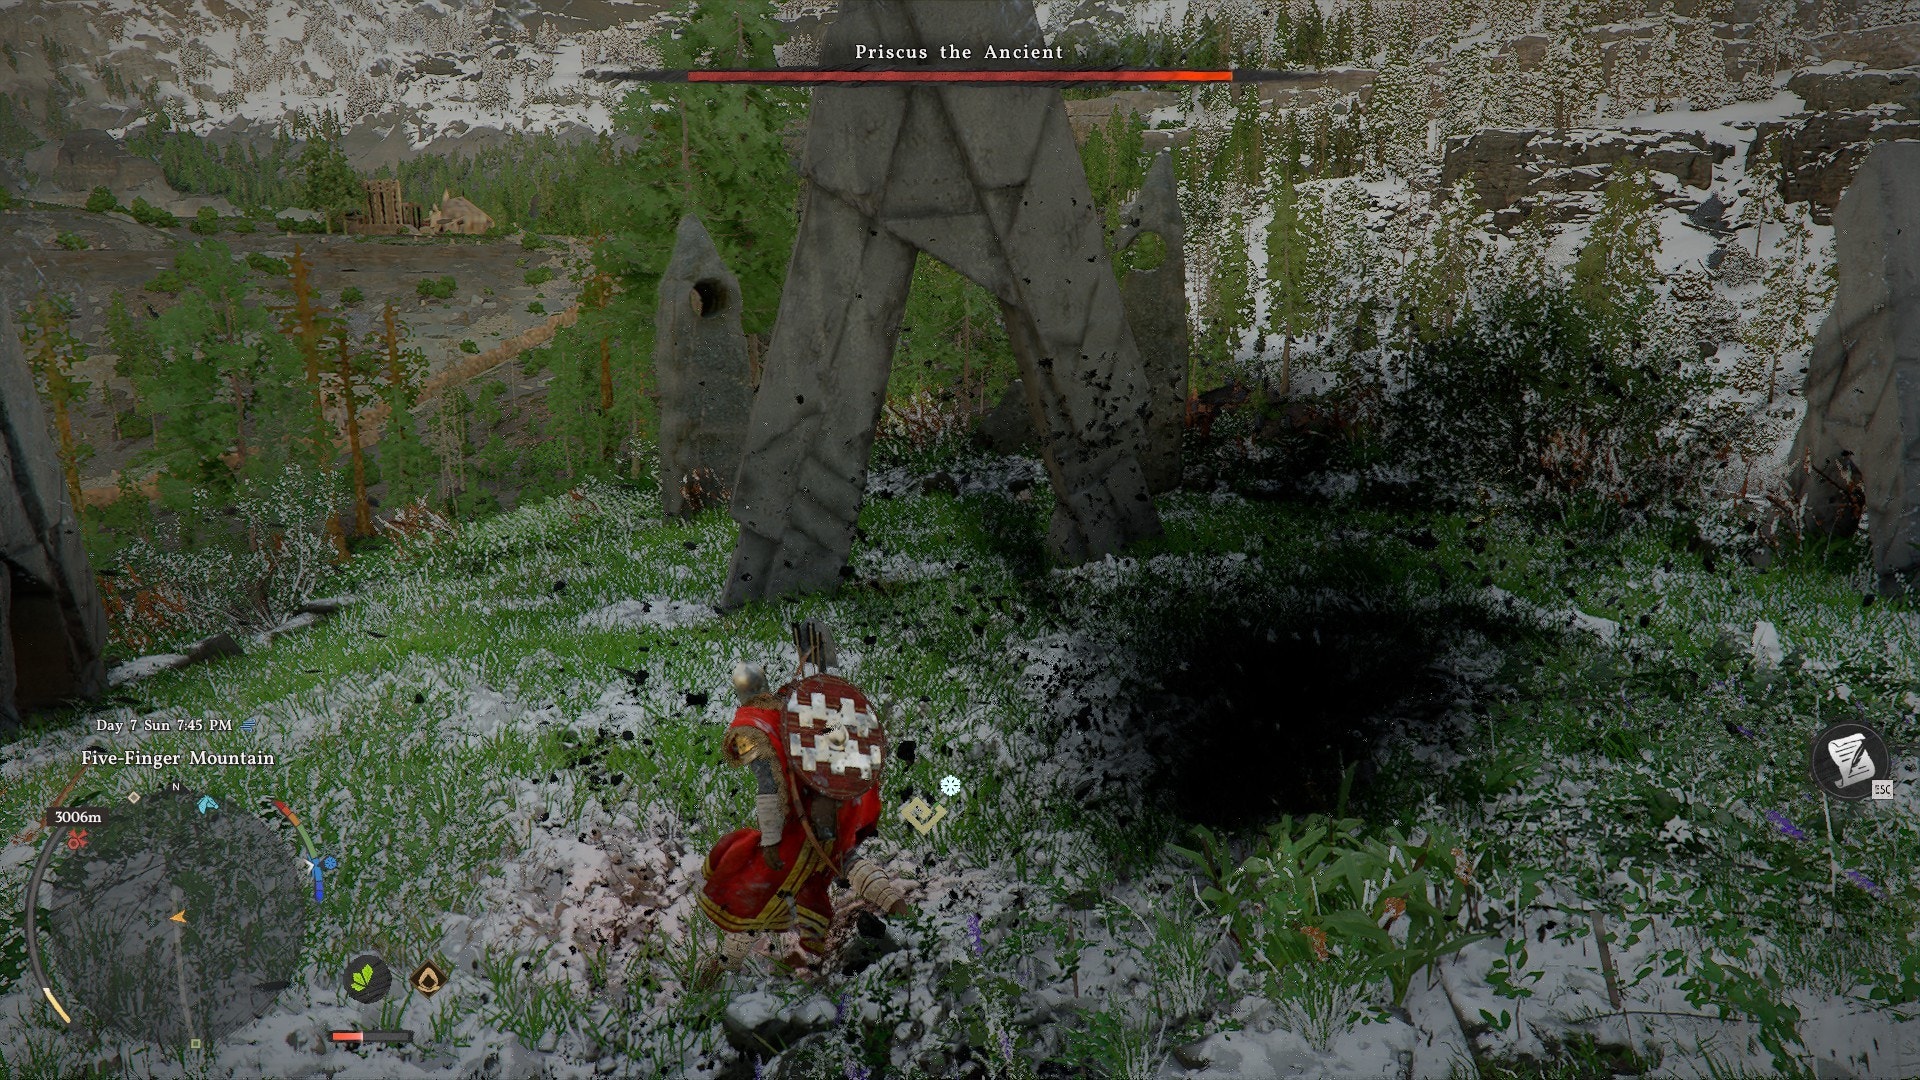
A dark wraith who ruled a once-prosperous kingdom for a millennium — haunts Hoenmark Ruins with his unholy halberd and freezing blizzard.
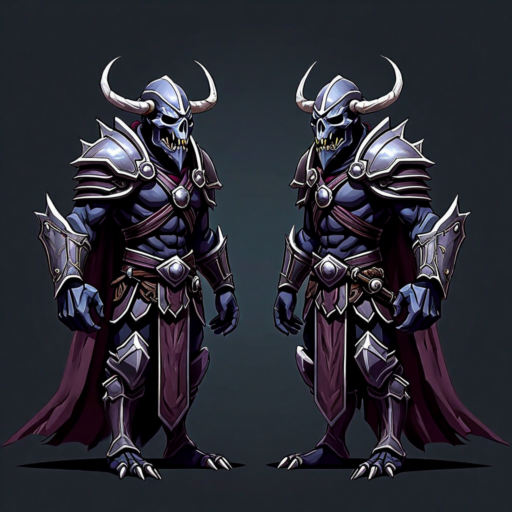
A Grand General fanatic wielding a lightning-fused moon blade — the slowest turning of the three Lunar Reapers in Eastern Court, Demeniss.
A doom-herald reaper with a long lunar blade — the most evasive of the three Moon Reapers, found in Western Court of Demeniss.
The strongest of the three Lunar Reapers — balanced, unpredictable, and fought in Southern Court of Demeniss.
Not a kill — you rescue this dragon by removing three mystical spears from its back while it tries to throw you off mid-flight.
A stone golem atop an Abyss Nexus in Forebearer's Barrens — slow and predictable, shatters into pieces when staggered.
A cannon-armed mechanical marauder — you can't damage it directly, must redirect its own shots at its wheels using Nature's Snare.
A massive brute at the Desolate Megalith Altar near Tashkalp — predictable combo patterns ending in a punishable double slam.
Three massive weapon cores guarding Fort Musket — you destroy them one by one from dragonback in the Chapter 12 endgame push.
An ancient guardian protecting a sunken desert temple — wields petrified weapons amid blinding sandstorms.
A goblin criminal hiding near Nas Riverside with his gang — must be captured alive for the full bounty reward.
Tribal chief of a hidden goblin encampment in Hernand — clear his warriors first, then take him down.
Lone brown bear prowling the Demeniss woods. Bait its overhead swipes, then punish with heavy hits during recovery.
Pair of bears denning in the Demeniss hills. Split them with ranged pulls or you'll be sandwiched between two heavy melee attackers.
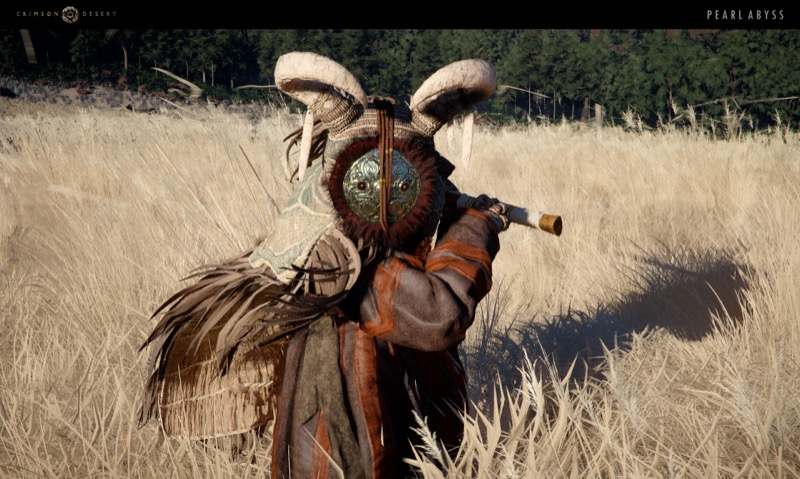
Masked Hernand hermit who fights alongside swarms of angry bees. Burn the hives around the arena to cut off his reinforcements.
Armoured sentinel patrolling a Demeniss watchtower. Telegraphs big two-hand swings — parry the first and trade on the second.
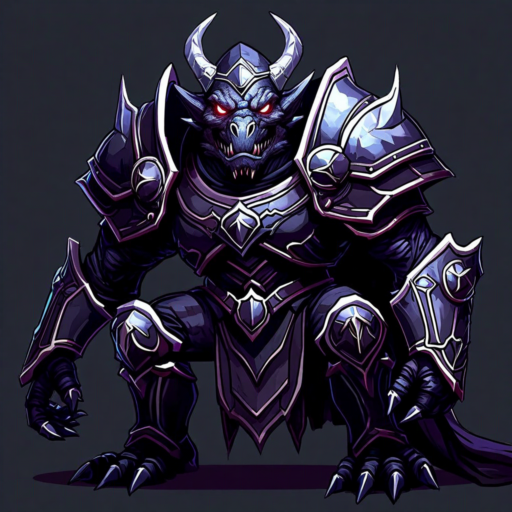
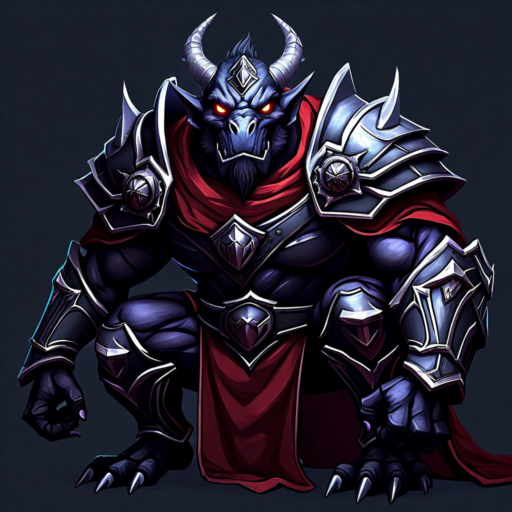
Chapter boss encountered in Delesyia. A spear-wielding Antumbra champion with long reach and fast thrusts — stay at max melee range or dodge inward.
Pailune chapter boss wielding an elemental staff. Alternates between frost AoEs and short-range staff combos — interrupt the channeled casts.
Climactic story encounter in the Pailune peaks. A multi-phase fight that shifts from melee combo pressure to arena-wide abyss magic.
Outlaw warlord haunting the Demeniss lowlands. Fast dual-blade combos and a grappling counter — don't over-commit to heavy attacks.
Pailune warlord who weaponises the cold, leaving ice trails and frost AoEs around the arena. Fire damage speeds up the kill noticeably.
Crimson Desert raid leader who fights from the back of a sandfang beast. Unseats if you stagger him enough — then the real duel starts.
Masked rebel commander in the Crimson Desert. Mixes acrobatic dagger strikes with smoke-bomb teleports — track her shadow to predict reappearances.
Massive matriarch of the bismuth orebacks, burrowed along the Demeniss coast. Crack her crystal shell before she hardens it between phases.
Towering white bear of the Pailune peaks. Absorbs hits like a wall — go for staggered openings after its two-paw slam.
Pailune white bear known for devastating claw swipes. Close the distance between swings — its recovery window is generous.
Rogue Rokade stallion that attacks on sight, trampling and kicking anything in its path. Tame or defeat — it counts for a bounty either way.
Mysterious abyss entity shaped like a shifting cube, encountered at abyss nexus sites. Each phase reorients its weak points — read the geometry.
Alternate sighting of the Pailune legendary white bear. Same moveset as the High Mountain variant — stagger openings, heavy punishes.
Elite sentinel patrolling the Crimson Desert frontier. Wields a red-bladed greatsword with long sweeping arcs — dodge through, not away.
Serpent Marsh temple tyrant. Master of close-range combat—stay behind him, reposition fast. One misstep means a brutal combo.
Pailune's sword-wielding archon. Vortex Orbs converge on you, followed by Golden Smash devastation. Deflect with Nature's Retribution.
Pailune militia legend. Summons illusory armies from all sides to lock down the arena. Aerial combos are your escape.
Hernand's crystalline giant. Scatters its body into rock swirls, then reassembles to slam. Extract the core with Axiom Force.
Deepfog basin guardian. Heavy hitter weak to piercing projectiles. Whistling Arrows turn this clash to your favor instantly.
Pailune skirmisher with minion support. Single-target focus required—ignore the mob, burn the captain down before reinforcements arrive.
Ridgehunter Tannery mounted boss. Stays horseback until dismounted by Turning Slash. Predictable combos once grounded.
Pailune ruin dweller wielding a greathammer. Jump Slams track relentlessly—constant movement or precise dodges only defense here.