All 141 Sealed Abyss Artifacts — Locations, How to Use, Best Order
Every Sealed Abyss Artifact unlocks a Challenge — and Challenge progress only counts AFTER you find the artifact. Here's how to collect all 141 in the optimal order.
9 min readLast updated:
Quick overview
- There are 141 Sealed Abyss Artifacts hidden across all 5 regions of Pywel.
- Each one unlocks a single Challenge. All Challenges are required for the Platinum trophy.
- They never appear on the world map. They show as purple icons on the minimap when you're close.
- Locations are fixed — not random. Use a checklist and clear region by region.
- Open this guide on your phone while you play, or use our interactive map (link below) to track which ones you've grabbed.
What Sealed Abyss Artifacts actually do
- Distinct from regular Abyss Artifacts (skill points): a 'Sealed' Abyss Artifact is a collectible.
- Each Sealed Abyss Artifact unlocks exactly one Challenge — Mastery, Combat, Life, or Operation.
- Until you find the artifact, the Challenge doesn't even exist in your Journal — and progress on it doesn't count.
- After completing the Challenge, return to the artifact in your inventory to claim its rewards (regular Abyss Artifacts, items, Cores).
- All 141 are needed for Platinum — they're the gate behind the entire challenge trophy chain.
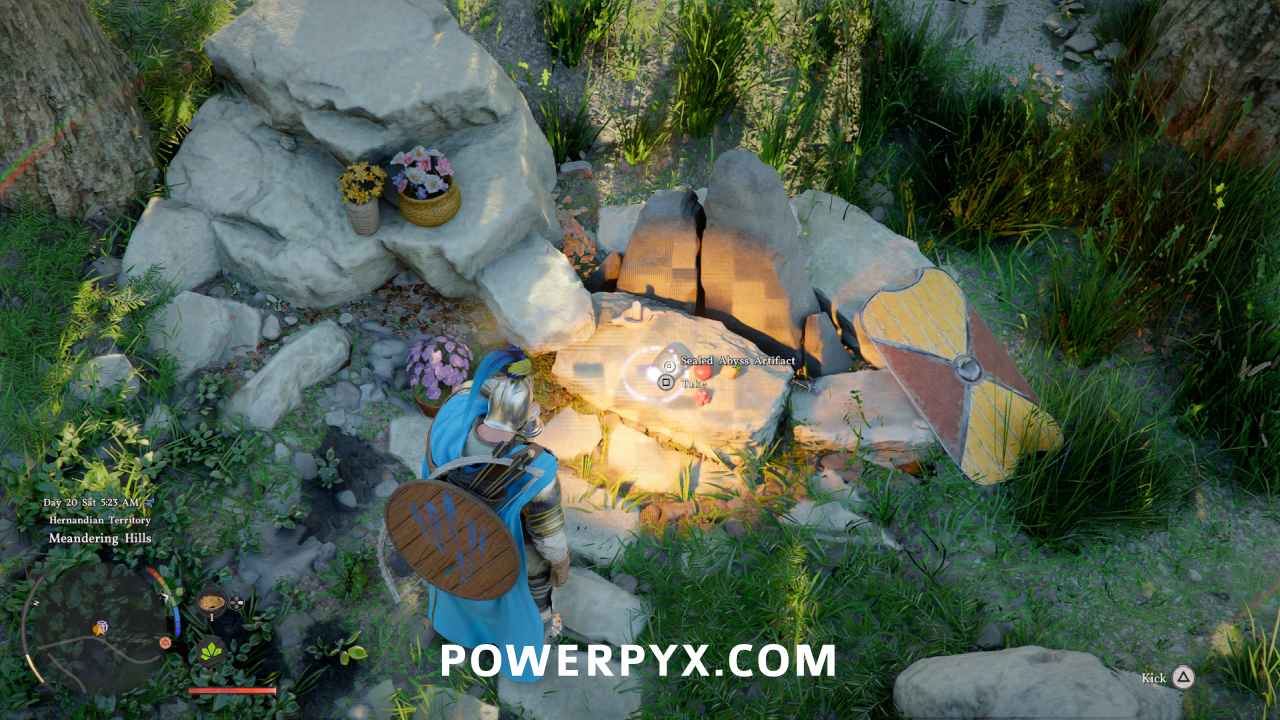
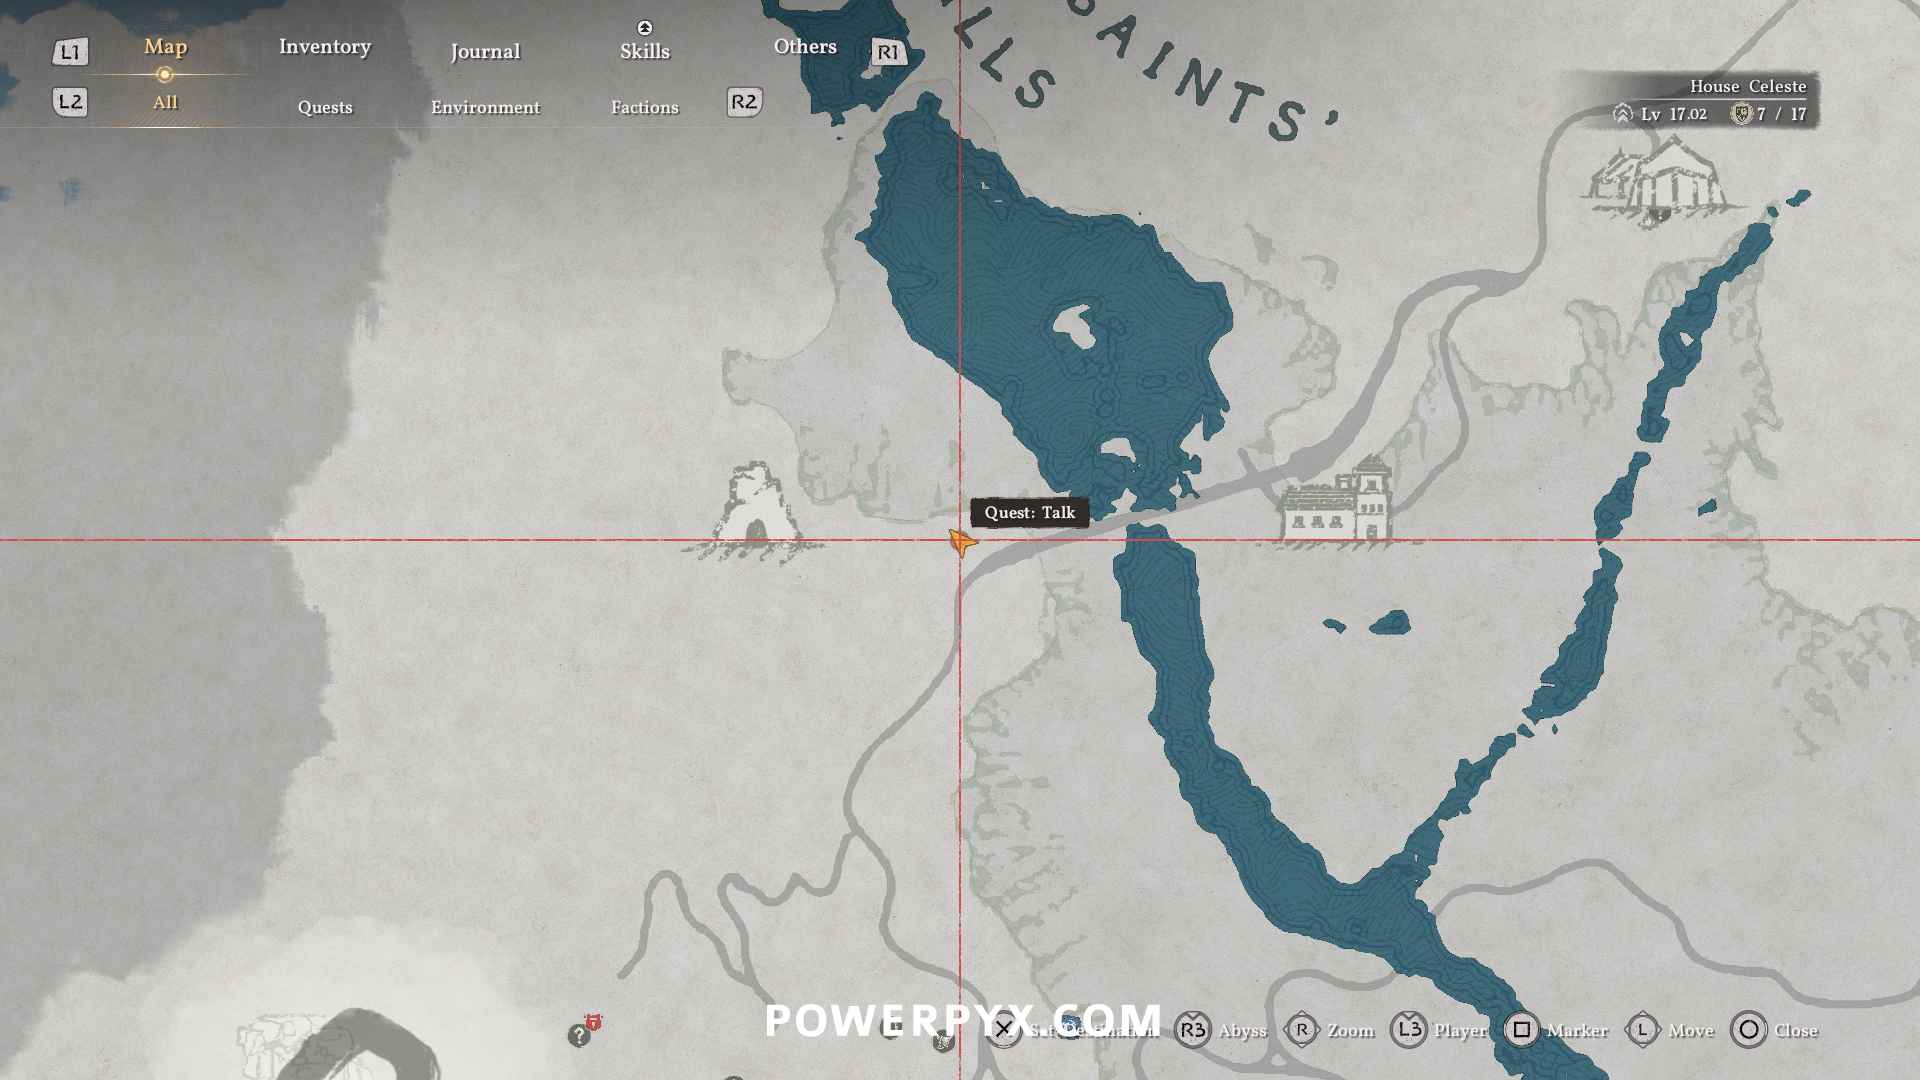
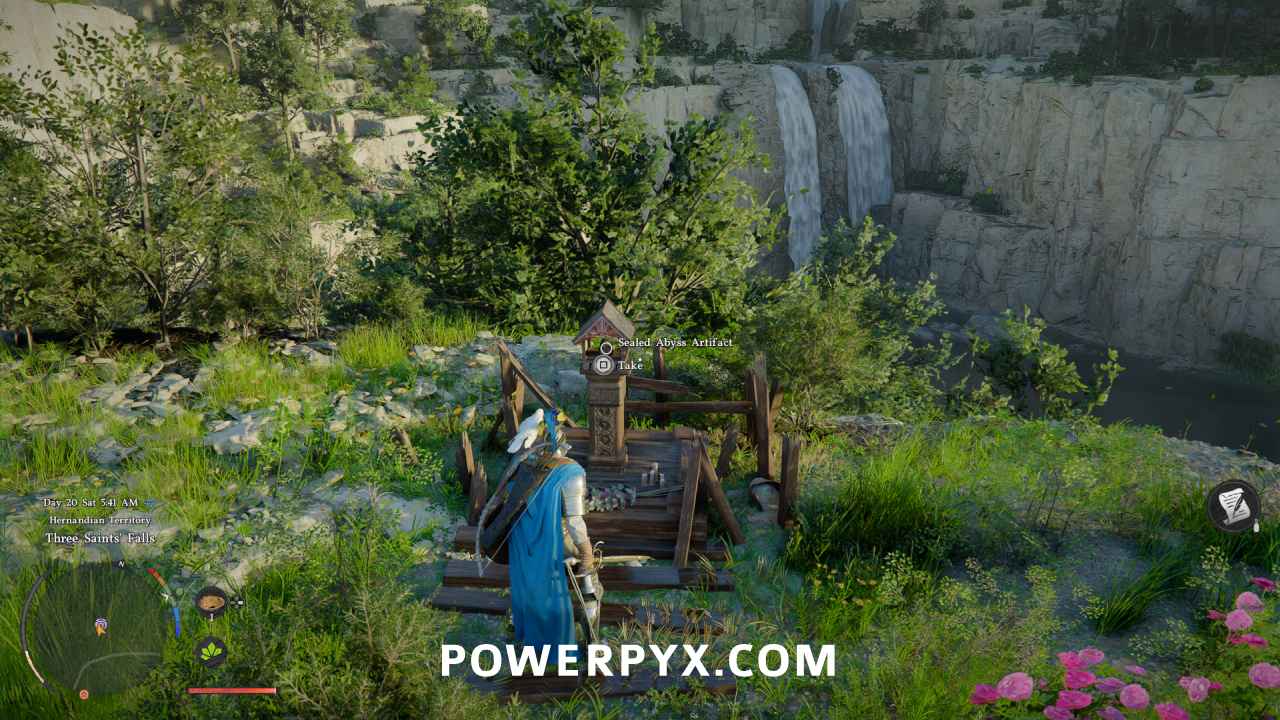
How to spot them in the world
- Purple icon appears on the minimap (NOT the world map) when you're roughly 50-80 meters away.
- Activate Guiding Light to see a blue glimmer at the exact location: L1+R1 on PlayStation, LB+RB on Xbox, Ctrl + Left-Click on KB+M.
- They're almost always near roads — usually a few meters off the path, behind rocks, on cliff ledges, in hollow tree stumps.
- If you don't see one where it should be, look UP. Many are perched on cliff edges or rooftops accessible only with Aerial Maneuver or Force Palm.
- After Chapter 1 (Force Palm) and Axiom Force Lv. 2 (Aerial Maneuver), 95% of artifacts become reachable.
- Some sit inside Mysterious Energy fog patches — clear those by walking into the '?' area marked on the world map.
Use our interactive map to track your collection
- We track every Sealed Abyss Artifact location on our interactive map — filterable, searchable, syncs across devices.
- Tick off each one as you grab it. Progress saves to your account or localStorage if you're not signed in.
- Filter by region (Hernand → Pailune → Demeniss → Delesyia → Crimson Desert → Abyss) to plan a clean route.
- Mobile app available too — open the same checklist on iPhone while playing on console.
- If a location is outdated or wrong, hit the Bug Report link in the footer — we patch our marker data within hours.
Why you must collect ALL of them BEFORE doing challenges
- Challenges have hidden cumulative requirements (kill X enemies, find Y items, complete Z puzzles).
- Progress on a hidden requirement only counts AFTER you've found the artifact that unlocks the challenge.
- Example: Operation challenge needs '50 Jackals killed'. Kill 100 before finding the artifact = counter still at 0.
- Some cumulative trackers DO count retroactively (rare exceptions). The safe assumption: nothing counts retroactively.
- Skipping this rule = the most common reason platinum runs balloon from 250 hours to 350+ hours of redos.
- Block out 25-30 hours dedicated to artifact collection right after Chapter 1 (Force Palm unlock).
Best collection route — region by region
- Region 1: Hernand — start here. Easy terrain, good Abyss Nexus density, low enemy threat.
- Region 2: Pailune — large region, harder enemies. Some artifacts gated behind Pailune Bell (story-locked).
- Region 3: Demeniss — most varied terrain. Combine artifact runs with Hidden Bell #3 and #4.
- Region 4: Delesyia — highest enemy density. Bring 200+ Grilled Meat per session.
- Region 5: Crimson Desert — endgame difficulty. Save for last, but the Scolecite/Azurite mining loops let you fund the trip.
- Bonus: a few artifacts in the Abyss zone — locked behind very late story progress, do them last.
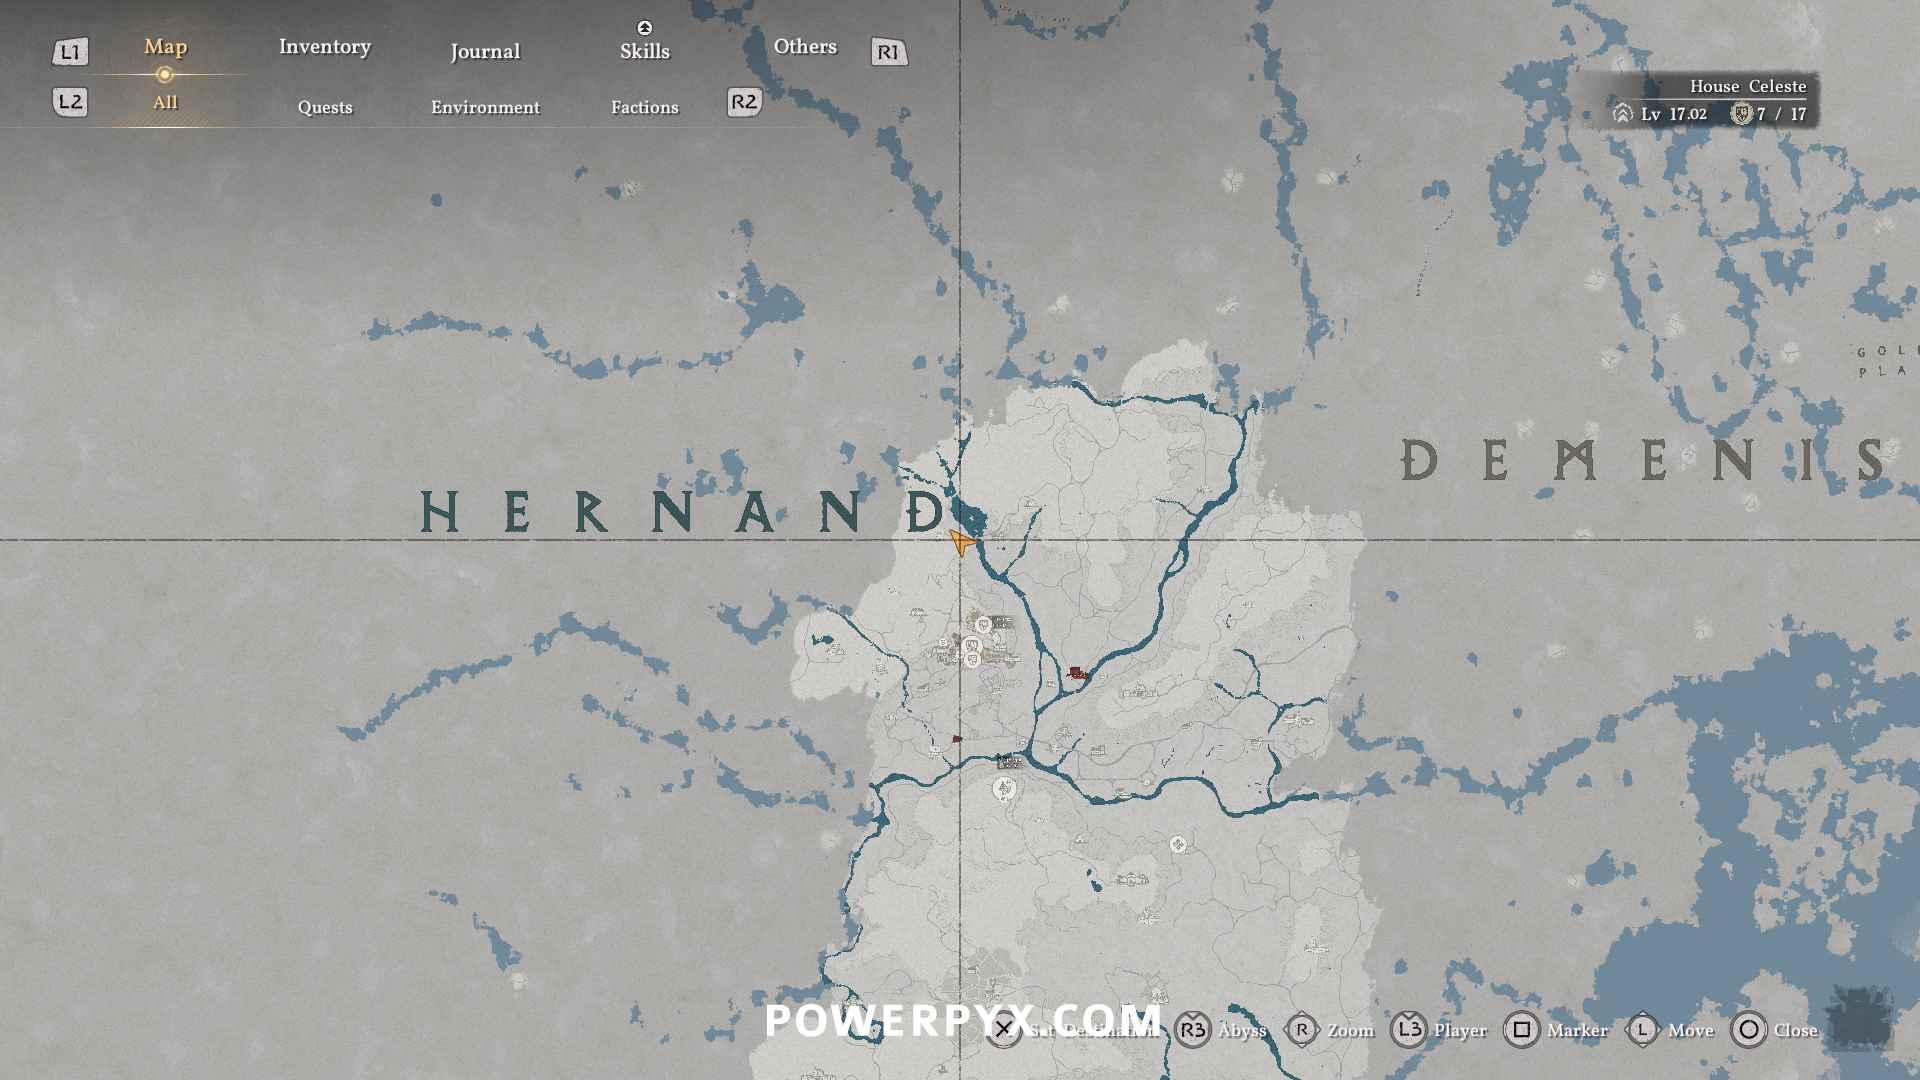
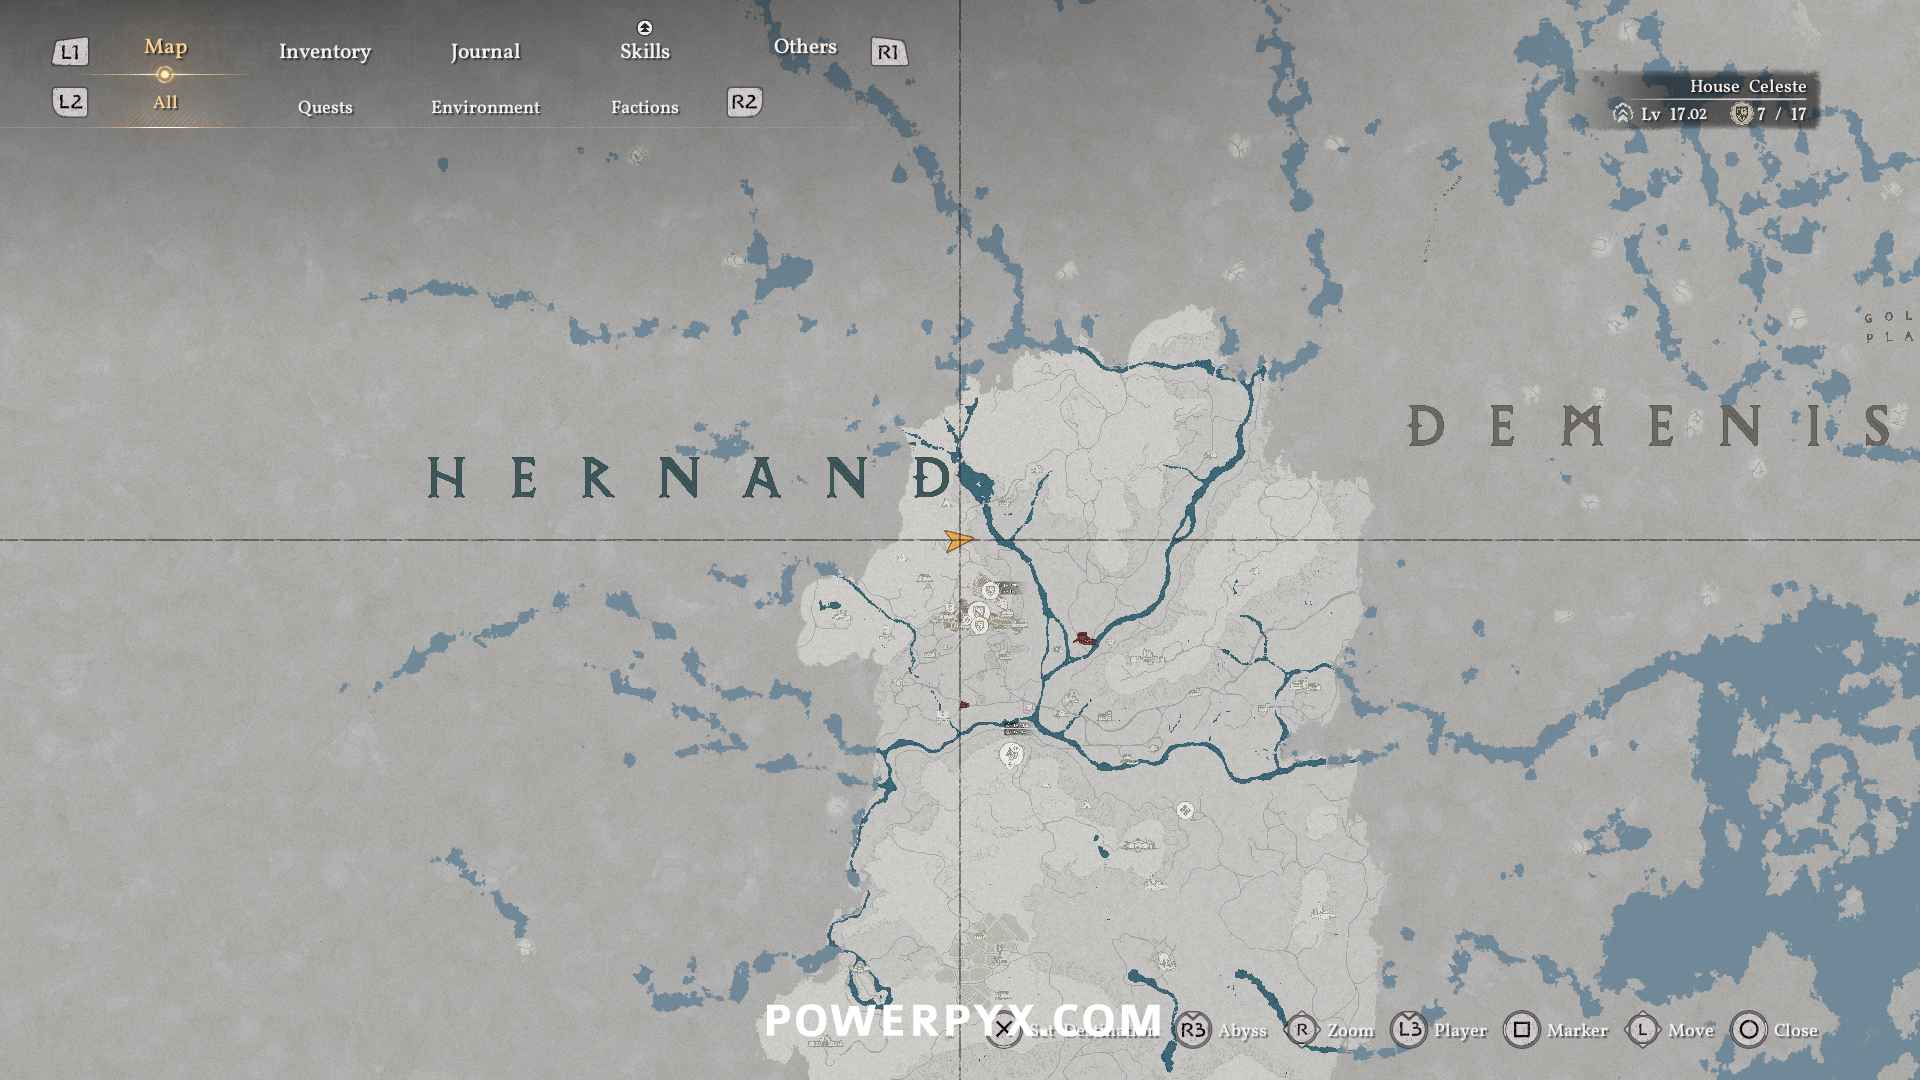
Hernand starter cluster — first 8 to grab
- Shield 1 — second intersection north of Hernand Royal Trading Post.
- Sword 1 — on the side of the road north from Hernand Castle.
- Operation 4: Judgment of the Storm — up the hill west of North Hernand Watchtower.
- Bow 1 — along the eastern road out of Hernand toward Howling Hill.
- Spear 1 — near the river crossing south of Hernand Royal Trading Post.
- Operation 1: Cleansing — close to the small bandit camp east of Hernand Castle (do BEFORE liberating).
- Mastery 1: Stamina — atop the cliff overlooking Hernand Bay (use Aerial Maneuver).
- Mastery 2: Health — inside the Mysterious Energy fog north of Lioncrest Manor.
Common pitfalls (read before you start)
- Pitfall 1: clearing enemy camps before grabbing all nearby artifacts. Cleared camps don't respawn enemies you may need.
- Pitfall 2: trying to collect Pailune artifacts before unlocking Pailune Bell — some require story progression first.
- Pitfall 3: missing artifacts on rooftops because you don't have Aerial Maneuver yet — come back after Axiom Force Lv. 2.
- Pitfall 4: assuming the world map shows them. It doesn't. Only the minimap does, and only at close range.
- Pitfall 5: liberating watchtowers before grabbing the artifact tied to a watchtower-related challenge — those are missable.
- Pitfall 6: relying on a guide written for an old patch — collection conditions can shift slightly between updates.
Related Guides
- Crimson Desert Trophy & Achievement Roadmap (Platinum Guide)200-300 hours, 35 trophies, 5 missables, 141 Sealed Abyss Artifacts, 8 Hidden Bells. The exact order to unlock the Platinum without burning weeks of redos.
- Crimson Desert: All 8 Hidden Bells (Toll of Pywel)8 bells unfog the entire map of Pywel. Locations, climbing tips, story locks, and the Toll of Pywel faction questline — ring them all in your first 5 hours.
- Crimson Desert Fast Travel Guide — All Abyss Nexus LocationsAbyss Nexus are the round floor plates that unlock fast travel across Pywel. Activate every white '?' search area you pass on the way to bells and artifacts.
- Best Skills to Unlock First in Crimson DesertThe 9 skills every Kliff should unlock in the first 10 hours — from Dodge (perfect dodge) to Nature's Echo and Blinding Flash Finisher.
- Crimson Desert Beginner Guide: 10 Things to Do FirstSkip the rookie mistakes. The 10 most important things to do first in Crimson Desert — controller setup, stat priority, inventory, food, fast travel, and silver.
Sources
Information cross-referenced from these sources and verified in-game.